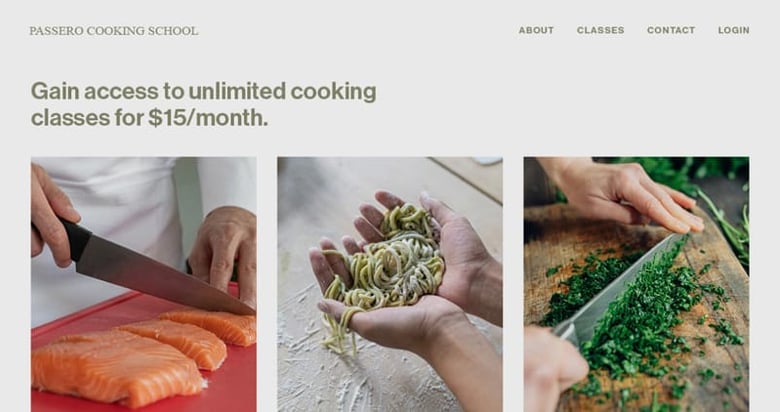
How to build a new income stream with your own customized product line
In the past, designing, producing and distributing your own merchandise was a huge endeavor.
My favorite website builder Squarespace offers a new print on demand (POD) feature, Custom Merch, in partnership with Printful, that makes it easy to start selling POD products. It’s a powerful combo requiring a lot less workforce needed to get merchandise into your customers hands:
POD is a product order fulfillment method where products are only printed (by a 3rd party) when an order is made. They then continue to package and ship the product directly to your customer. You benefit from less risk and less overhead, while also adding another income stream to your business. Win win.
In this article I share the benefits of POD, how to set up Custom Merch by Printful, design our first product and then start selling our merchandise using my Squarespace. Let’s get stuck in!
FAQ: Why should I consider Custom Merch?
Here are 6 main benefits in launching a new product range using POD:
- Monetization – Once you have set up your merchandise store, the sales happen while you continue with your original business plans. This new revenue stream becomes passive income.
- Staying lean – There is no more need to print and store inventory for potential sales. Your office space or even side-hustle at home remains uncluttered.
- No upfront costs – You only pay when you make sales, eliminating all cash flow risk.
- Time saving – Production, packaging, distribution, stock levels, accounting. All of these departments take time and are all included in your POD service.
- Scale your brand – Your fans representing your brand on their gear is a form of passive marketing.
- Focus on what you are best at – With the 3rd party handling multiple layers of the production and distribution process, you can focus on your core business strategy.
Sounds good right? Let me show you just how easy it is to setup.
One Page Love Exclusive Coupon
Yay! Squarespace has been kind enough to give One Page Love readers the exclusive coupon OPL10 for 10% Off* your first website or domain purchase. (There is a free 14-day trial with no credit card needed, so you can try risk-free.)
Tutorial Overview:
- Get started with Custom Merch
- Design your first product
- Determine selling price and publish
- Set up your Squarespace store
- Start promoting your own products!
1 – Get started with Custom Merch
If you don’t have a Squarespace account, start by signing up (using the coupon OPL10) then upgrade to the Business plan (or higher) to enable integration with 3rd party print on demand extensions.
Here is a quick comparison of the Business and Commerce plans to help you decide which to start with:
- Both Business and Commerce plans can handle multiple areas of your online business from website uptime, security, unlimited blogs for content marketing, and include fully integrated E-Commerce. There is huge value in not having to worry about any of this! Learn more about the benefits of using Squarespace.
- The Business Plan at $23/month has a 3% transaction fee while the Commerce Plan at $27/month has no transaction fees.
- The Advanced Commerce Plan at $49/month features powerful commerce add-ons like abandoned cart recovery, subscriptions and dynamic discounts (eg. save $100 if you spend over $500).
- If you are on a Personal Plan you can try Custom Merch products and if you like the service, easily upgrade to a Business Plan to start selling on Squarespace.
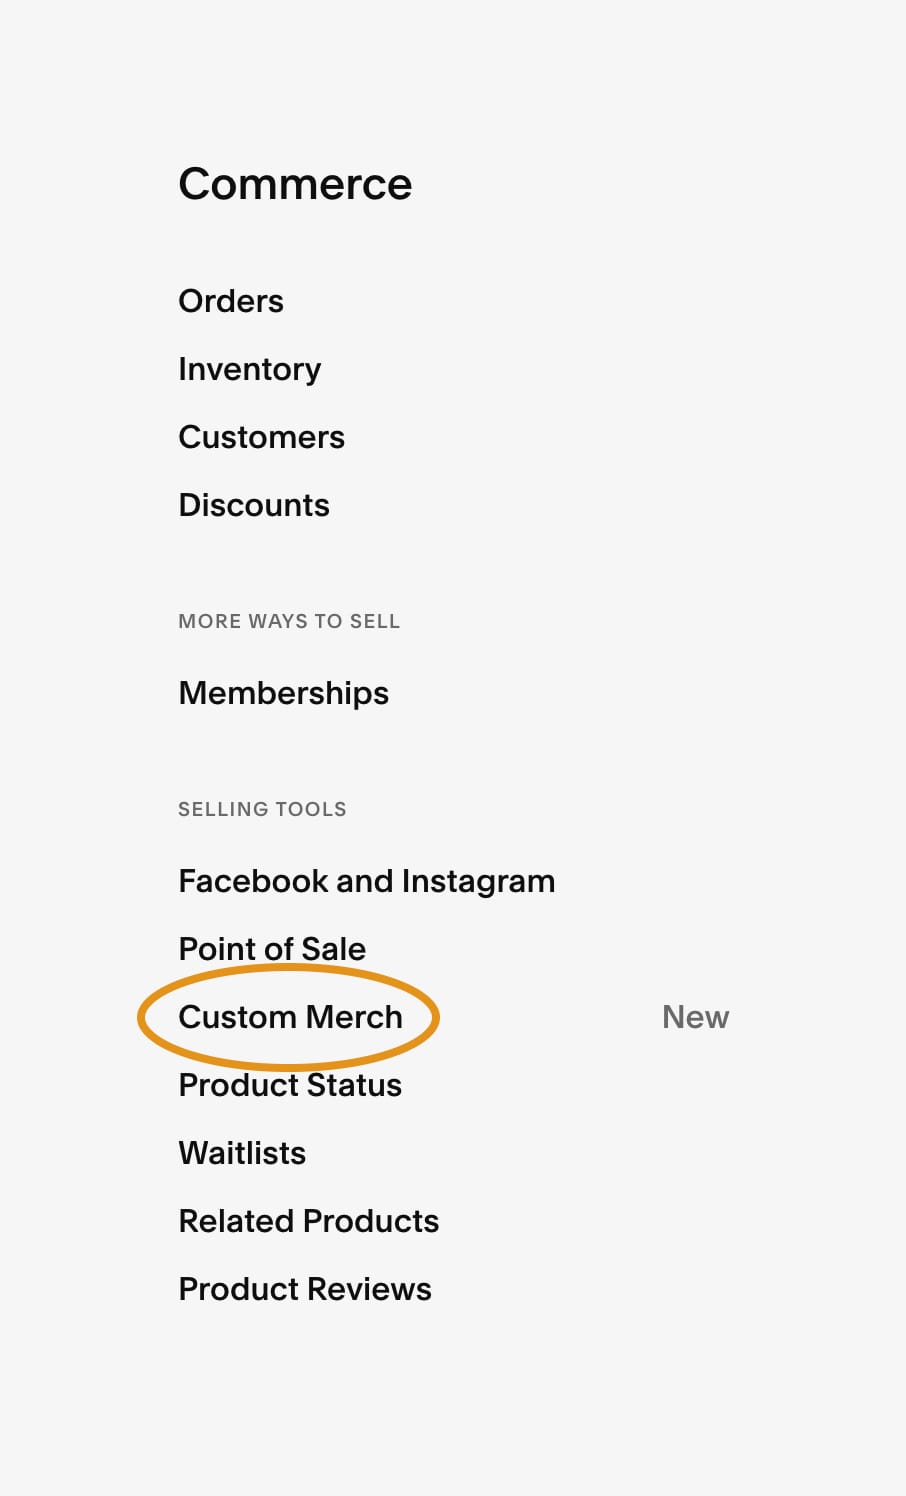
Head on over to the Commerce → Custom Merch section via the sidebar navigation:
Then proceed to Connect your Squarespace account with your newly created Printful account:
2 – Design your first product
Now the product designing fun begins! Head back into Printful and kick things off with Design Product button:
Continue through and create a new Product Template when prompted. This pops up hundreds of merchandise starting points. For this tutorial I’m going to create a mug for our parent company Love Curated. See how I simply search for “mugs” for more refined product options to start with:
Once you’ve selected your product, you are presented with the product settings shown below. You have options to select which sizes you want to offer (on left, half way up) and add images or text to your product. You can also click on the product to edit the design:
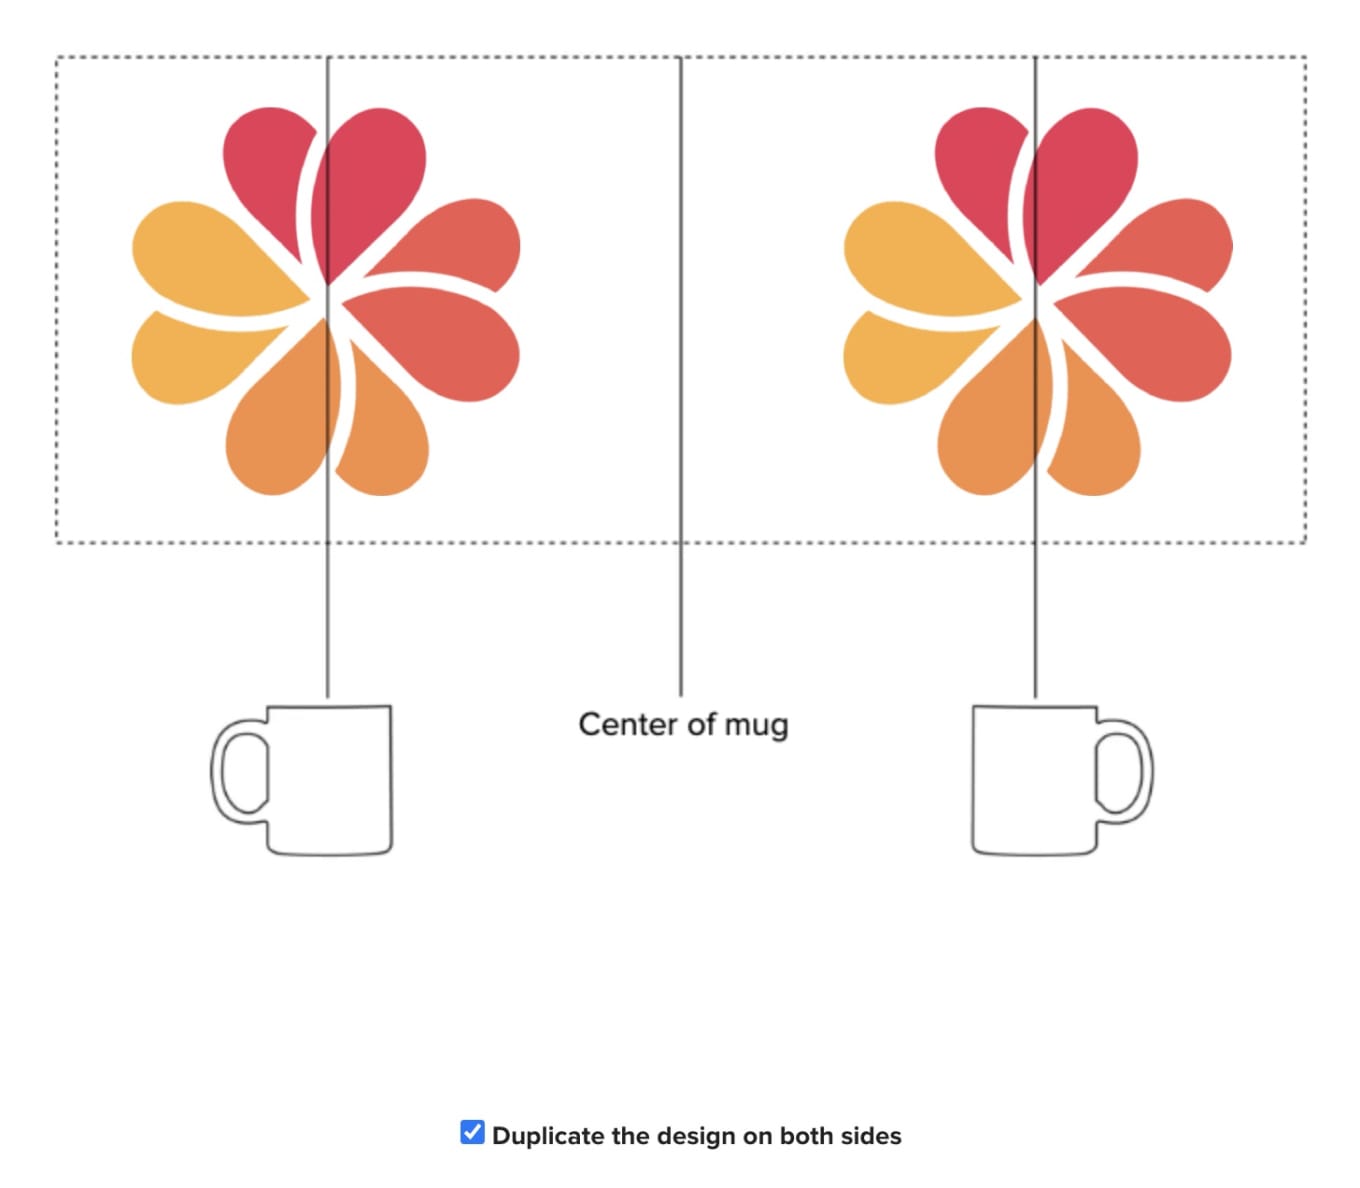
After I uploaded my “Four Hearts” brand logomark, I positioned it centered on the 1 mug side, then ticked Duplicate the design on both sides option:
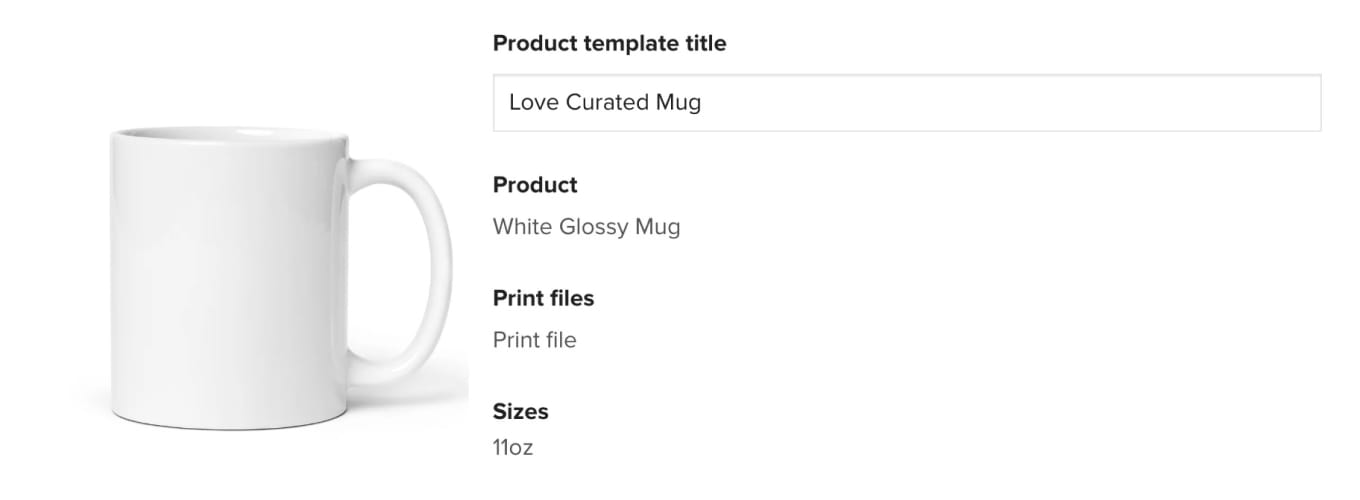
Then I named the product template Love Curated Mug and hit save:
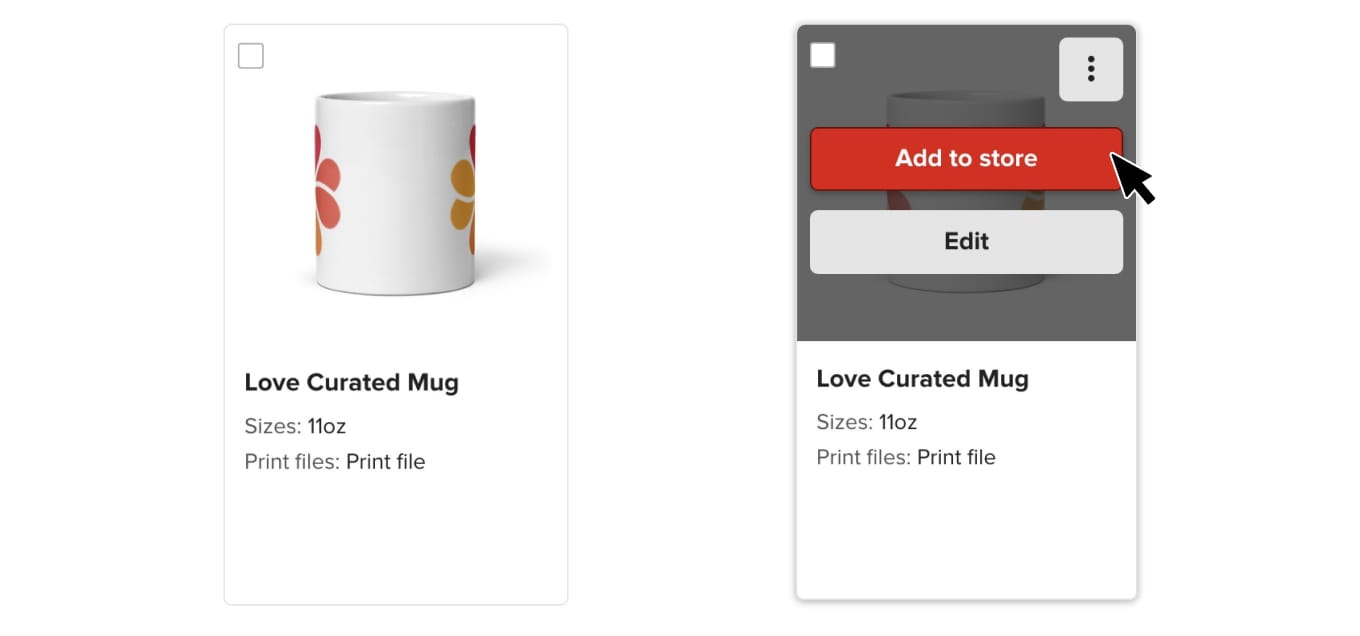
Next you’ll see your newly created Product Template in the collection on your home dashboard. Hover over it and Add to store:
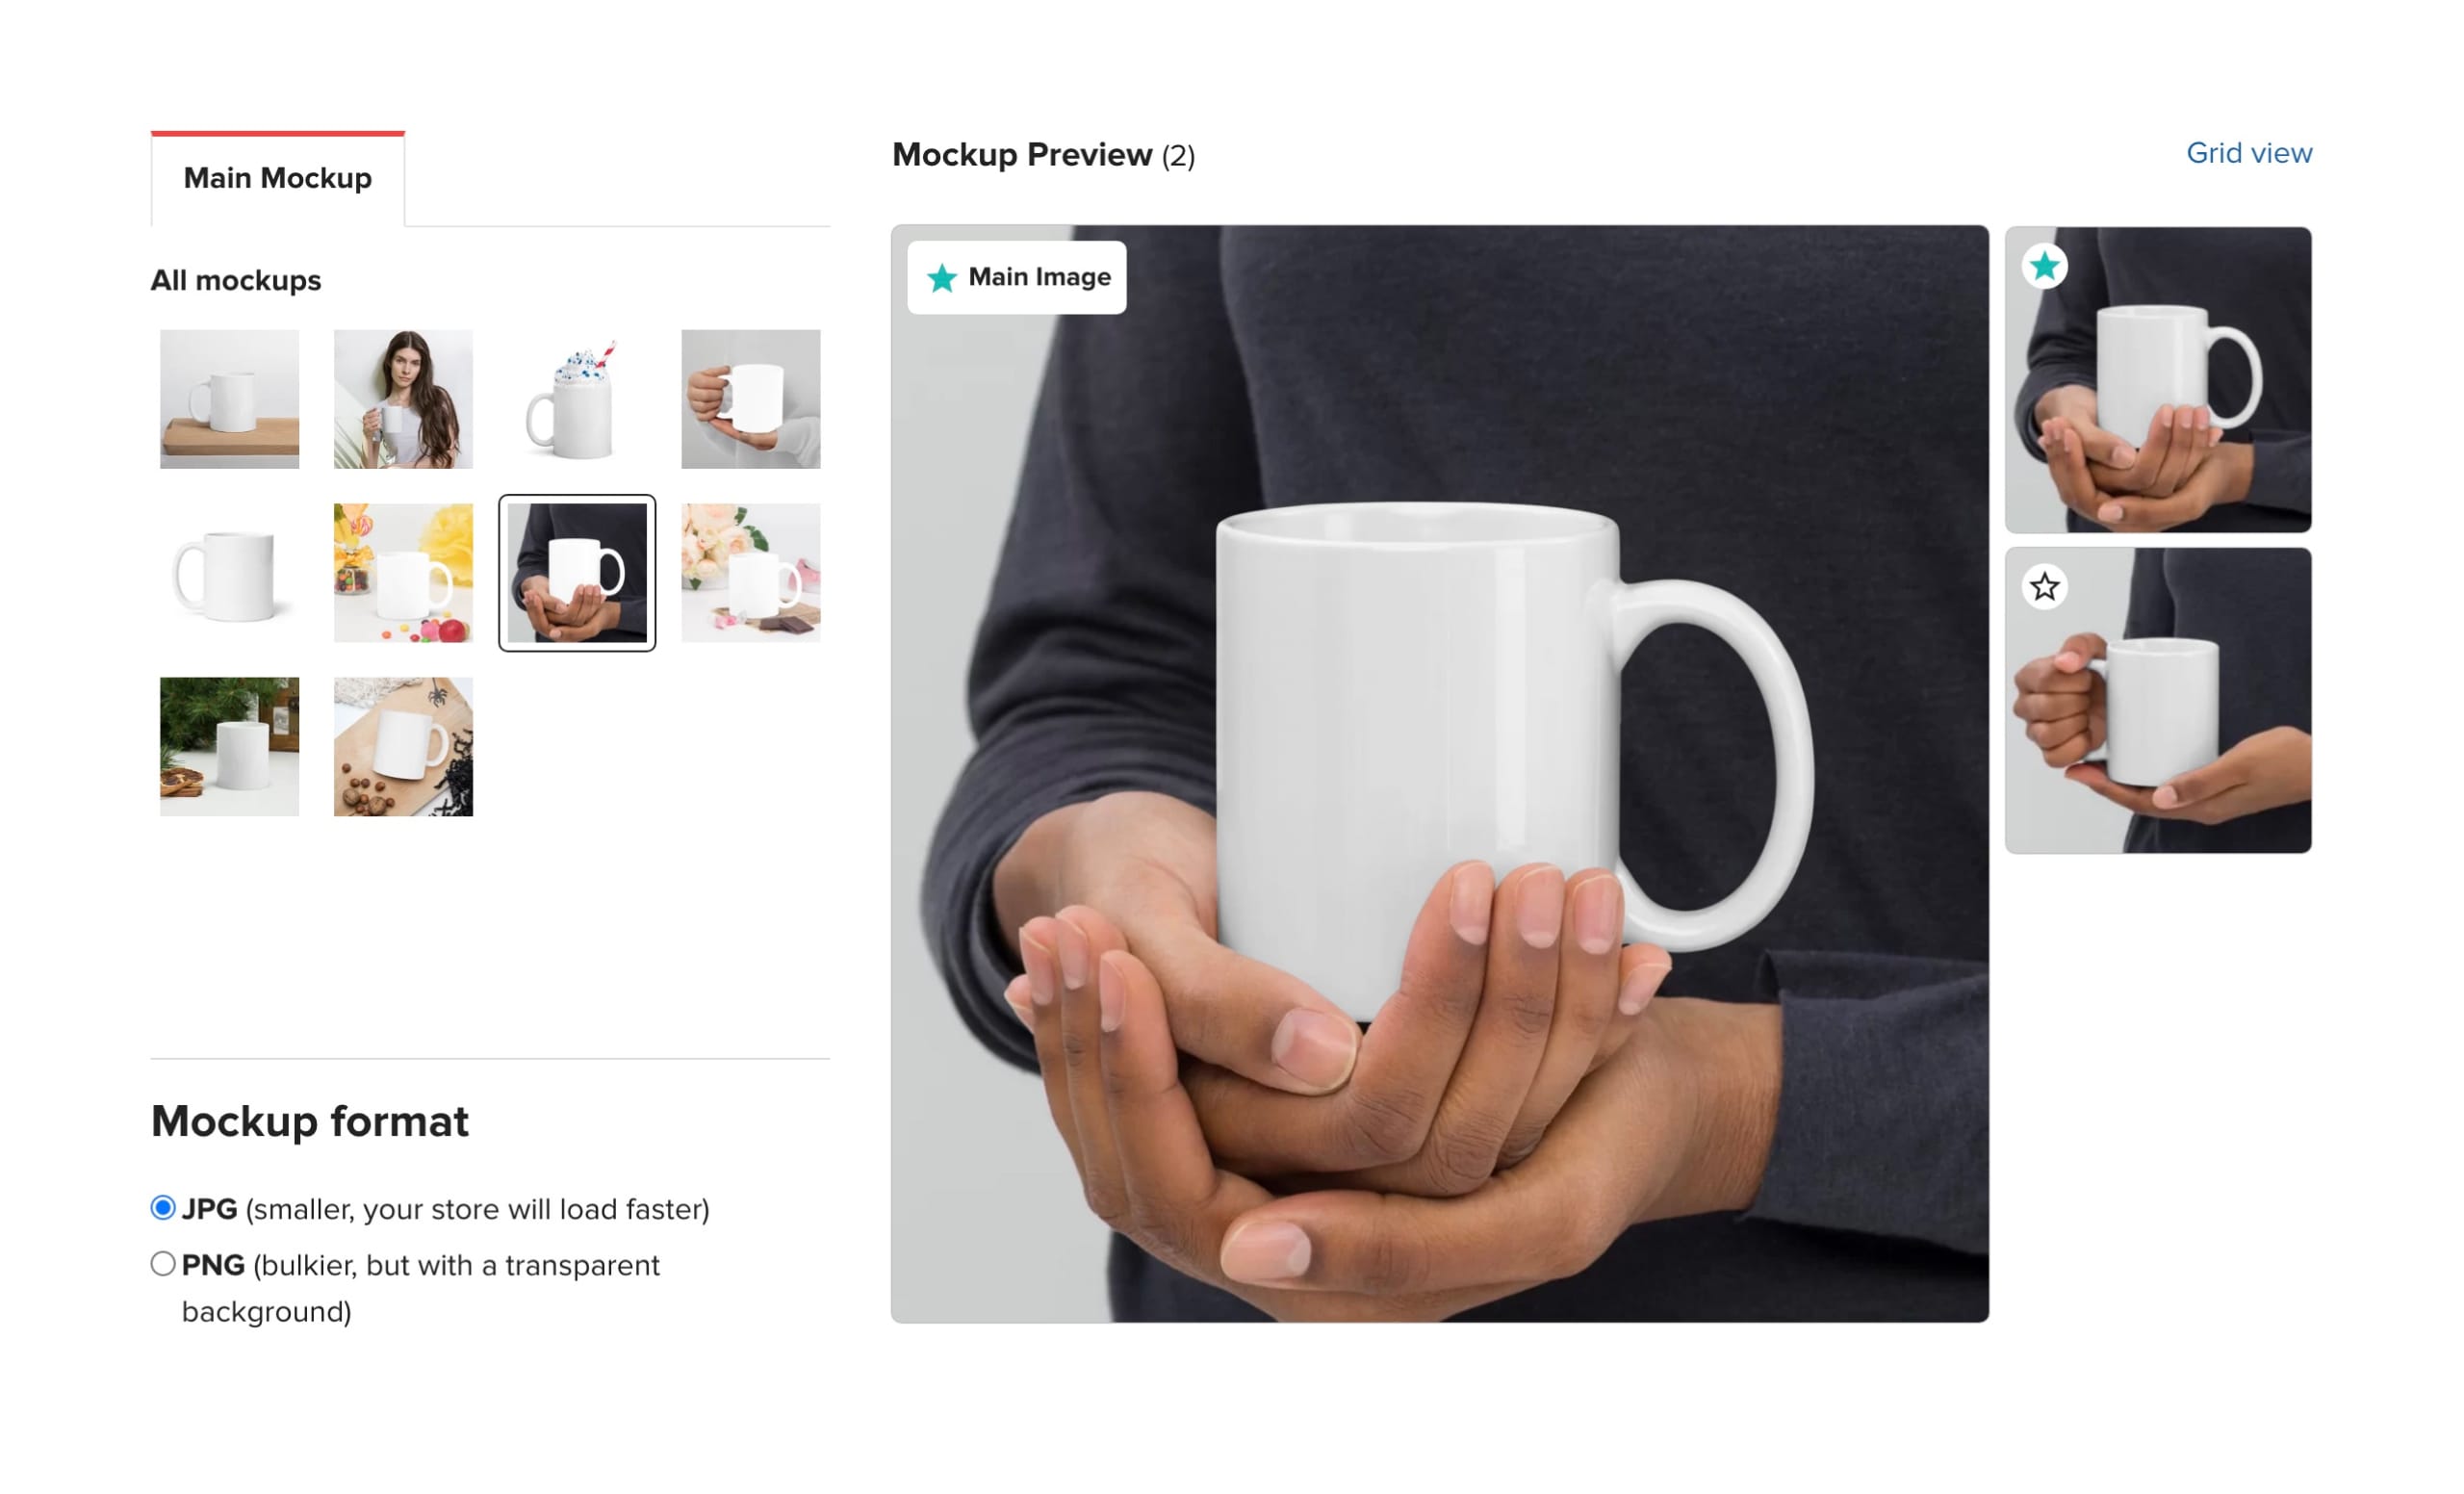
Proceed to the mockups and choose the scene you would like to present your product. I chose this calm, mug-holding aesthetic. You can also choose more than one.
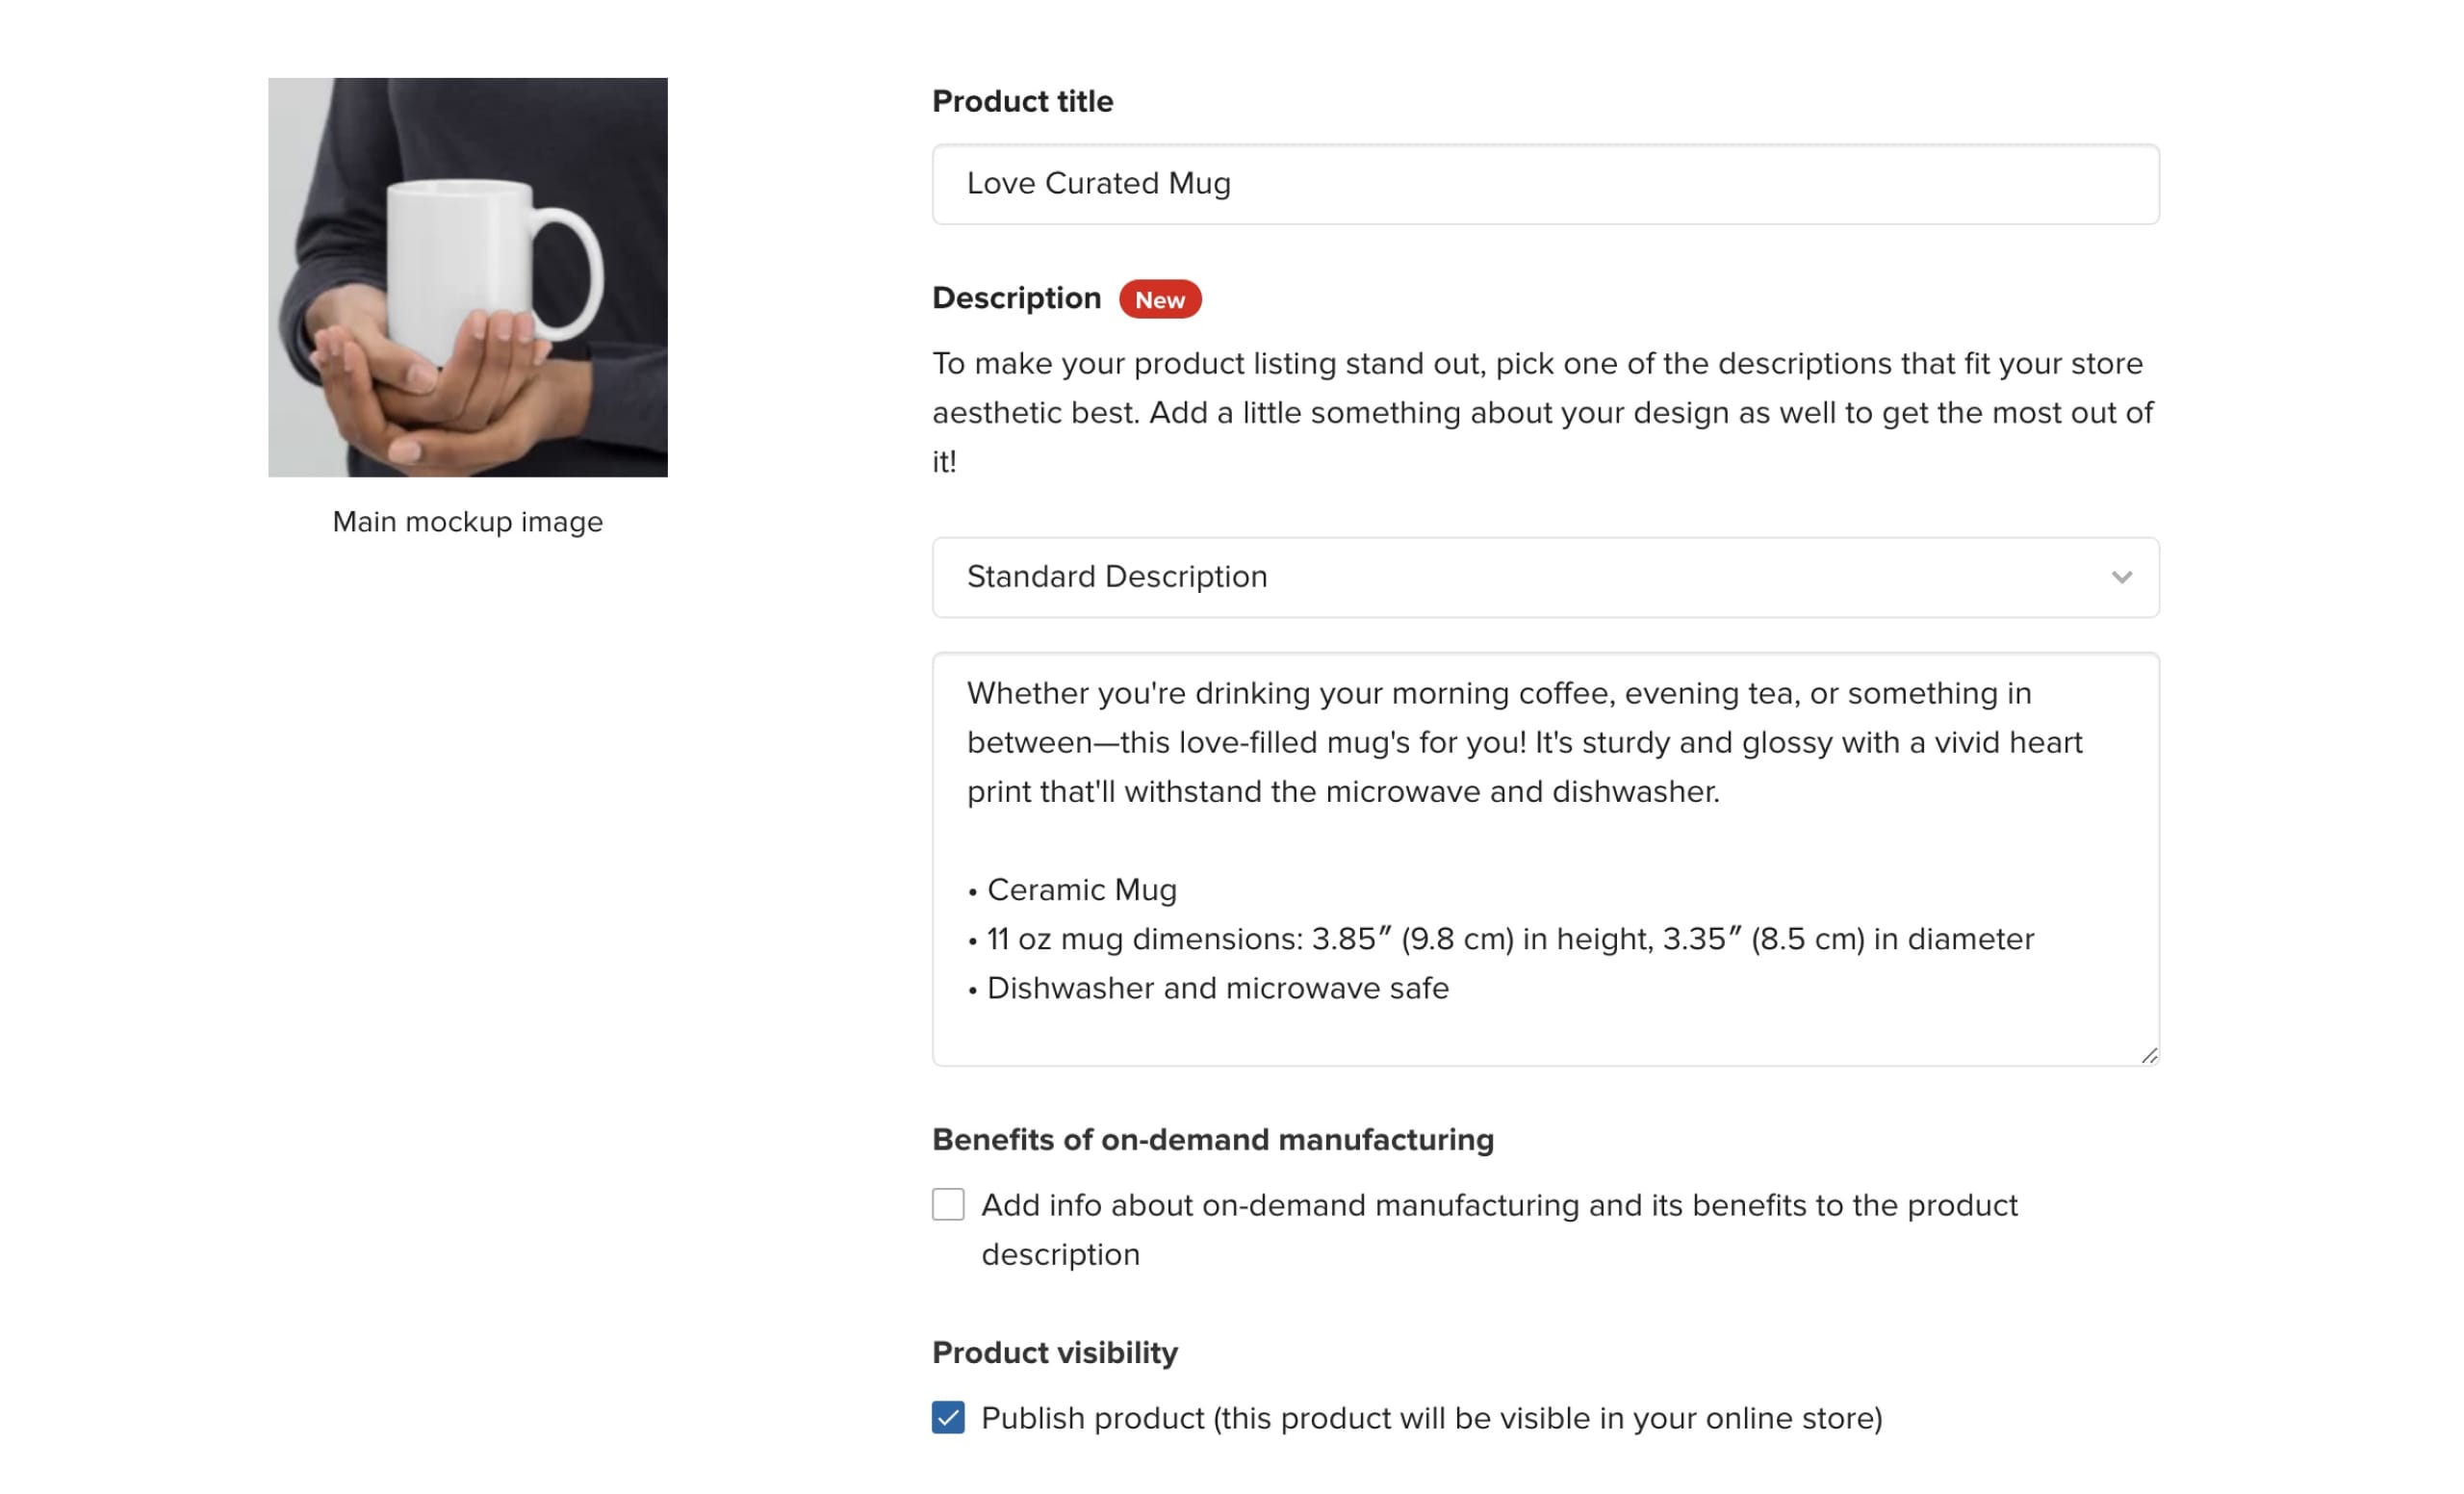
Now add details about your product and try to have fun with it! If you are not feeling creative, don’t sweat, there are details automatically generated for you if you want. Note at the bottom I’ve checked the Product visibilty option:
Once you are happy hit the Proceed to pricing red button in the footer.
3 – Determine selling price and publish
The simple way to look at this is to set your desired revenue per sale, then the system will set the final price. If you want to dive a bit deeper, there are three layers to print on demand pricing to understand before setting your final price:
- Printful Price – This price depends on the product (size & color), production technique, print placement, and fulfillment location. The more complex the variables, the higher the Printful price (ie. product costs)
- Revenue – The money you will make per sale. You can set this by percentage above cost or a fixed amount per sale.
- Retail price – How much your customer will pay for a sale and the amount shown on your product page.
For my mug, I set my desired revenue at $5 per sale, making my final sale price $13.95:

Finally hit the big red Submit to store button. Printful now automatically sync’s your new product with your Squarespace store!
4 – Setup your Squarespace Store
Head on back to Squarespace and run through the following short checklist to finalize setup. The Custom Merch dashboard will also help guide you through.
- Payments – Connect your payment processor to your store. You can connect Stripe, PayPal, or both
- Shipping costs – When you add products in Printful, flat-rate shipping options are created automatically for you in Squarespace. These are suggested amounts to cover Printful’s shipping costs. Learn how to edit shipping rates here.
- Design – Head to the templates section and pick a website template to sell your new merchandise. It’s worth noting this is just a starting point and whichever template you choose, you can have any desired results through the extensive customization options. The goal here is to find a template with an aesthetic closest to your needs, saving you some time.
- Domain name – Connected your domain name to your store.
When navigating over to the Commerce section you’d be delighted to see your Printful product automatically listed there:
You now have the option to further add images, edit product specifications and even fine tune the product page meta tags for how it renders on social media and search engines. Very useful!
After you hit save, your product page is ready with your big beautiful Printful mock-up image ✨
5 – Start promoting your own products!
Congrats, it is time to share your new (print on demand) merchandise to your audience. That sure beats designing, printing, collecting and storing the merchandise yourself!
Now when a sale is made, Printful automatically fulfills it so you don’t have to worry about the logistics. Orders will also automatically be marked as fulfilled in Squarespace as well. Fantastic.
💡 Idea: Add a link to your merchandise to your Bio.Site. A Bio Site is a beautiful, mobile-friendly one page website that links to everything you offer in one place and is often linked from your social media accounts.
Here is an example of how I could promote my merchandise with a Bio Site:
FAQ: What are the benefits of using Squarespace?
Squarespace is a leading online website builder. What sets them apart is their superior level of design and award-winning customer support team available 24/7. Other main benefits are:
- No Website Hosting Needed - their platform is fast and secure.
- Online Content Management - all edits are done within your browser, no software needed.
- Easily Drag and Drop Images - unlimited galleries with unlimited bandwidth.
- Free Domain Name - when registering for your first website, if you pay annually (renews at standard rate).
- Beautifully Responsive - all templates work for all devices, so you only have to design your website once. Test and preview how your website will appear on a range of screen sizes.
- Blog Sections - can easily be added for content marketing and to share your journey.
- Commerce Solutions - are an upgrade away if you want to start selling products.
- Email Marketing - gather email addresses, send marketing emails and analyze the reader email activity.
- Member Areas - create private website sections only accessible to signed-up or paying members.
- Scheduling - add an online scheduler to your site to diversify your revenue with professional services or classes.
That’s a wrap! Don’t forget your 10% Off coupon*: OPL10
That’s a wrap! Don’t forget your 10% Off coupon: OPL10
I hope you enjoyed this guide on how to start your own customized product line! Props to Squarespace and Printful for creating platforms where we can set this up, with ease. In case you missed it, I recently published a tutorial on How to build a unique landing page design with Fluid Engine by Squarespace.
* The OPL10 coupon offer only applies to first payment of subscription on Squarespace, does not apply to future recurring payments or monthly plans, and may not be combined with any other offer codes or discounts.
Much love,
Rob
Twitter: @robhope
Email: [email protected]


![How to create a free link in Bio Site in minutes [video]](https://assets.onepagelove.com/cdn-cgi/image/width=780,height=412,fit=cover,gravity=top,format=jpg,quality=85/wp-content/uploads/2022/07/sqsp-thumb.jpg)

