![]()
For over a century it’s been proven a great salesman is also a great storyteller.
Fast forward to 2018 and that door-knocking salesman has been replaced with social media marketing. Unfortunately, storytelling is really difficult within a single social media post.
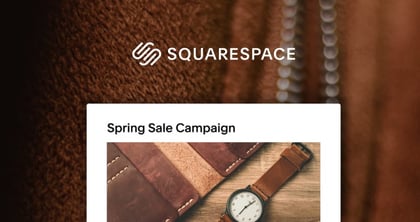
In this tutorial I show you exactly how to create a simple but effective product Landing Page using Squarespace – the perfect place to send customers and continue your story leading up to a successful conversion.
One Page Love Exclusive Coupon
Yay! Squarespace has been kind enough to give One Page Love readers the exclusive coupon OPL10 for 10% Off* your first website or domain purchase. (There is a free 14-day trial with no credit card needed, so you can try risk-free.)
Please note: this article is based on the Squarespace 7.0 platform.
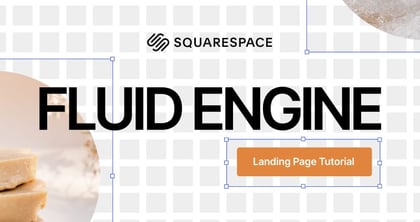
The new Squarespace 7.1 platform features an improved user interface, so the screenshots might differ but the majority of the content is still relevant. Squarespace 7.1 offers a much more flexible way to build websites, regardless of which template you start with. Squarespace 7.1 templates also support all features and style options including an unlimited number of page sections.
Understanding Storytelling
Before we begin building our Landing Page, we need to define two things:
- What is the objective for our Landing Page? eg. a product sale
- What story would lead to this sale? ie. what would our customer like to read to be convinced to pay for the product
In this tutorial we are promoting a single coffee mug targeted at outdoor folk.
The objective? A sale.
What story would lead to this sale? An introduction identifying with our customer with copy potentially answering their needs. Then information about the the brand, great product images, a testimonial and a clean check-out experience.
Creating a Product Landing Page with Squarespace
Step One: Make sure you are on the Squarespace Business Plan at $23/month. This unlocks the powerful Commerce functionality with unlimited products, promotional pop-ups and announcement bars.
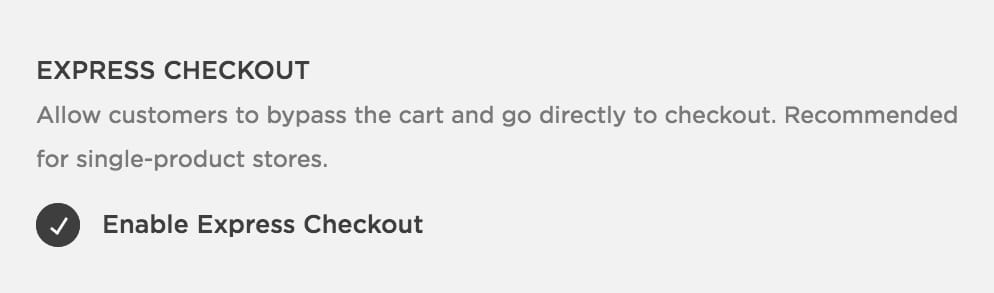
Step Two: Turn on the Express Checkout. In the Home Menu, click Commerce, and then click Checkout. Scroll down to Express Checkout and check Enable Express Checkout. This takes your customer straight to credit card input from the moment they click the product Purchase button.
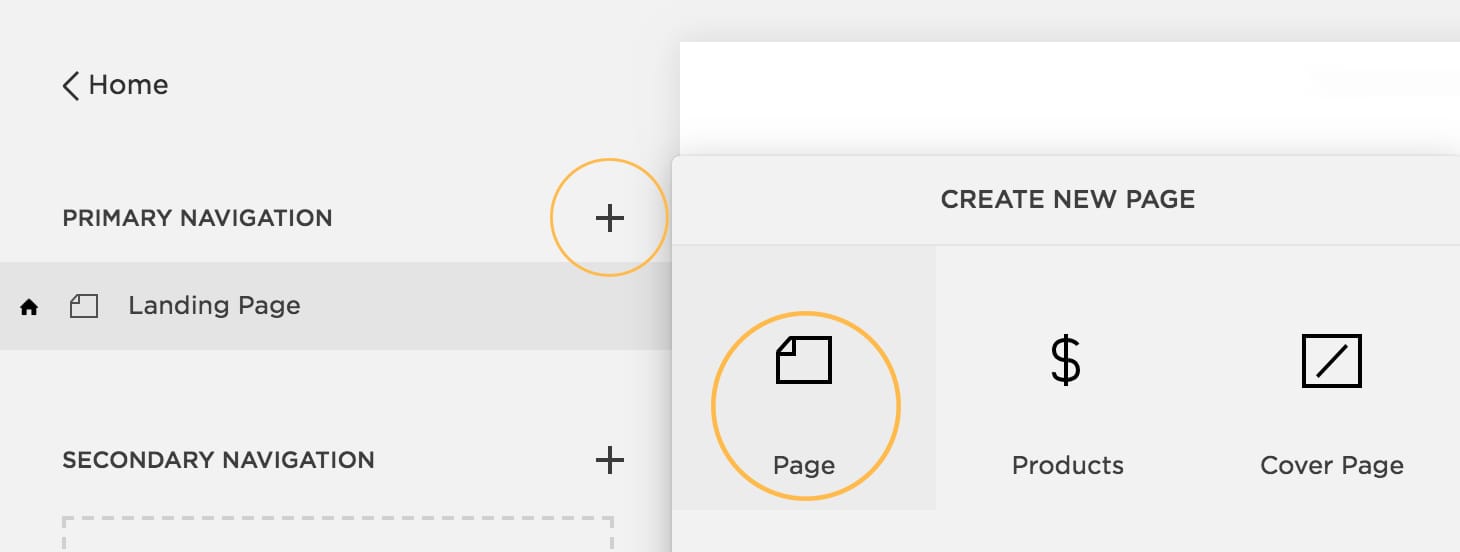
Step Three: Start with any Squarespace template and create a blank new page. Head to Pages > Primary Navigation > Plus Icon > Page. Name the page as you wish, I named mine “Landing Page”:
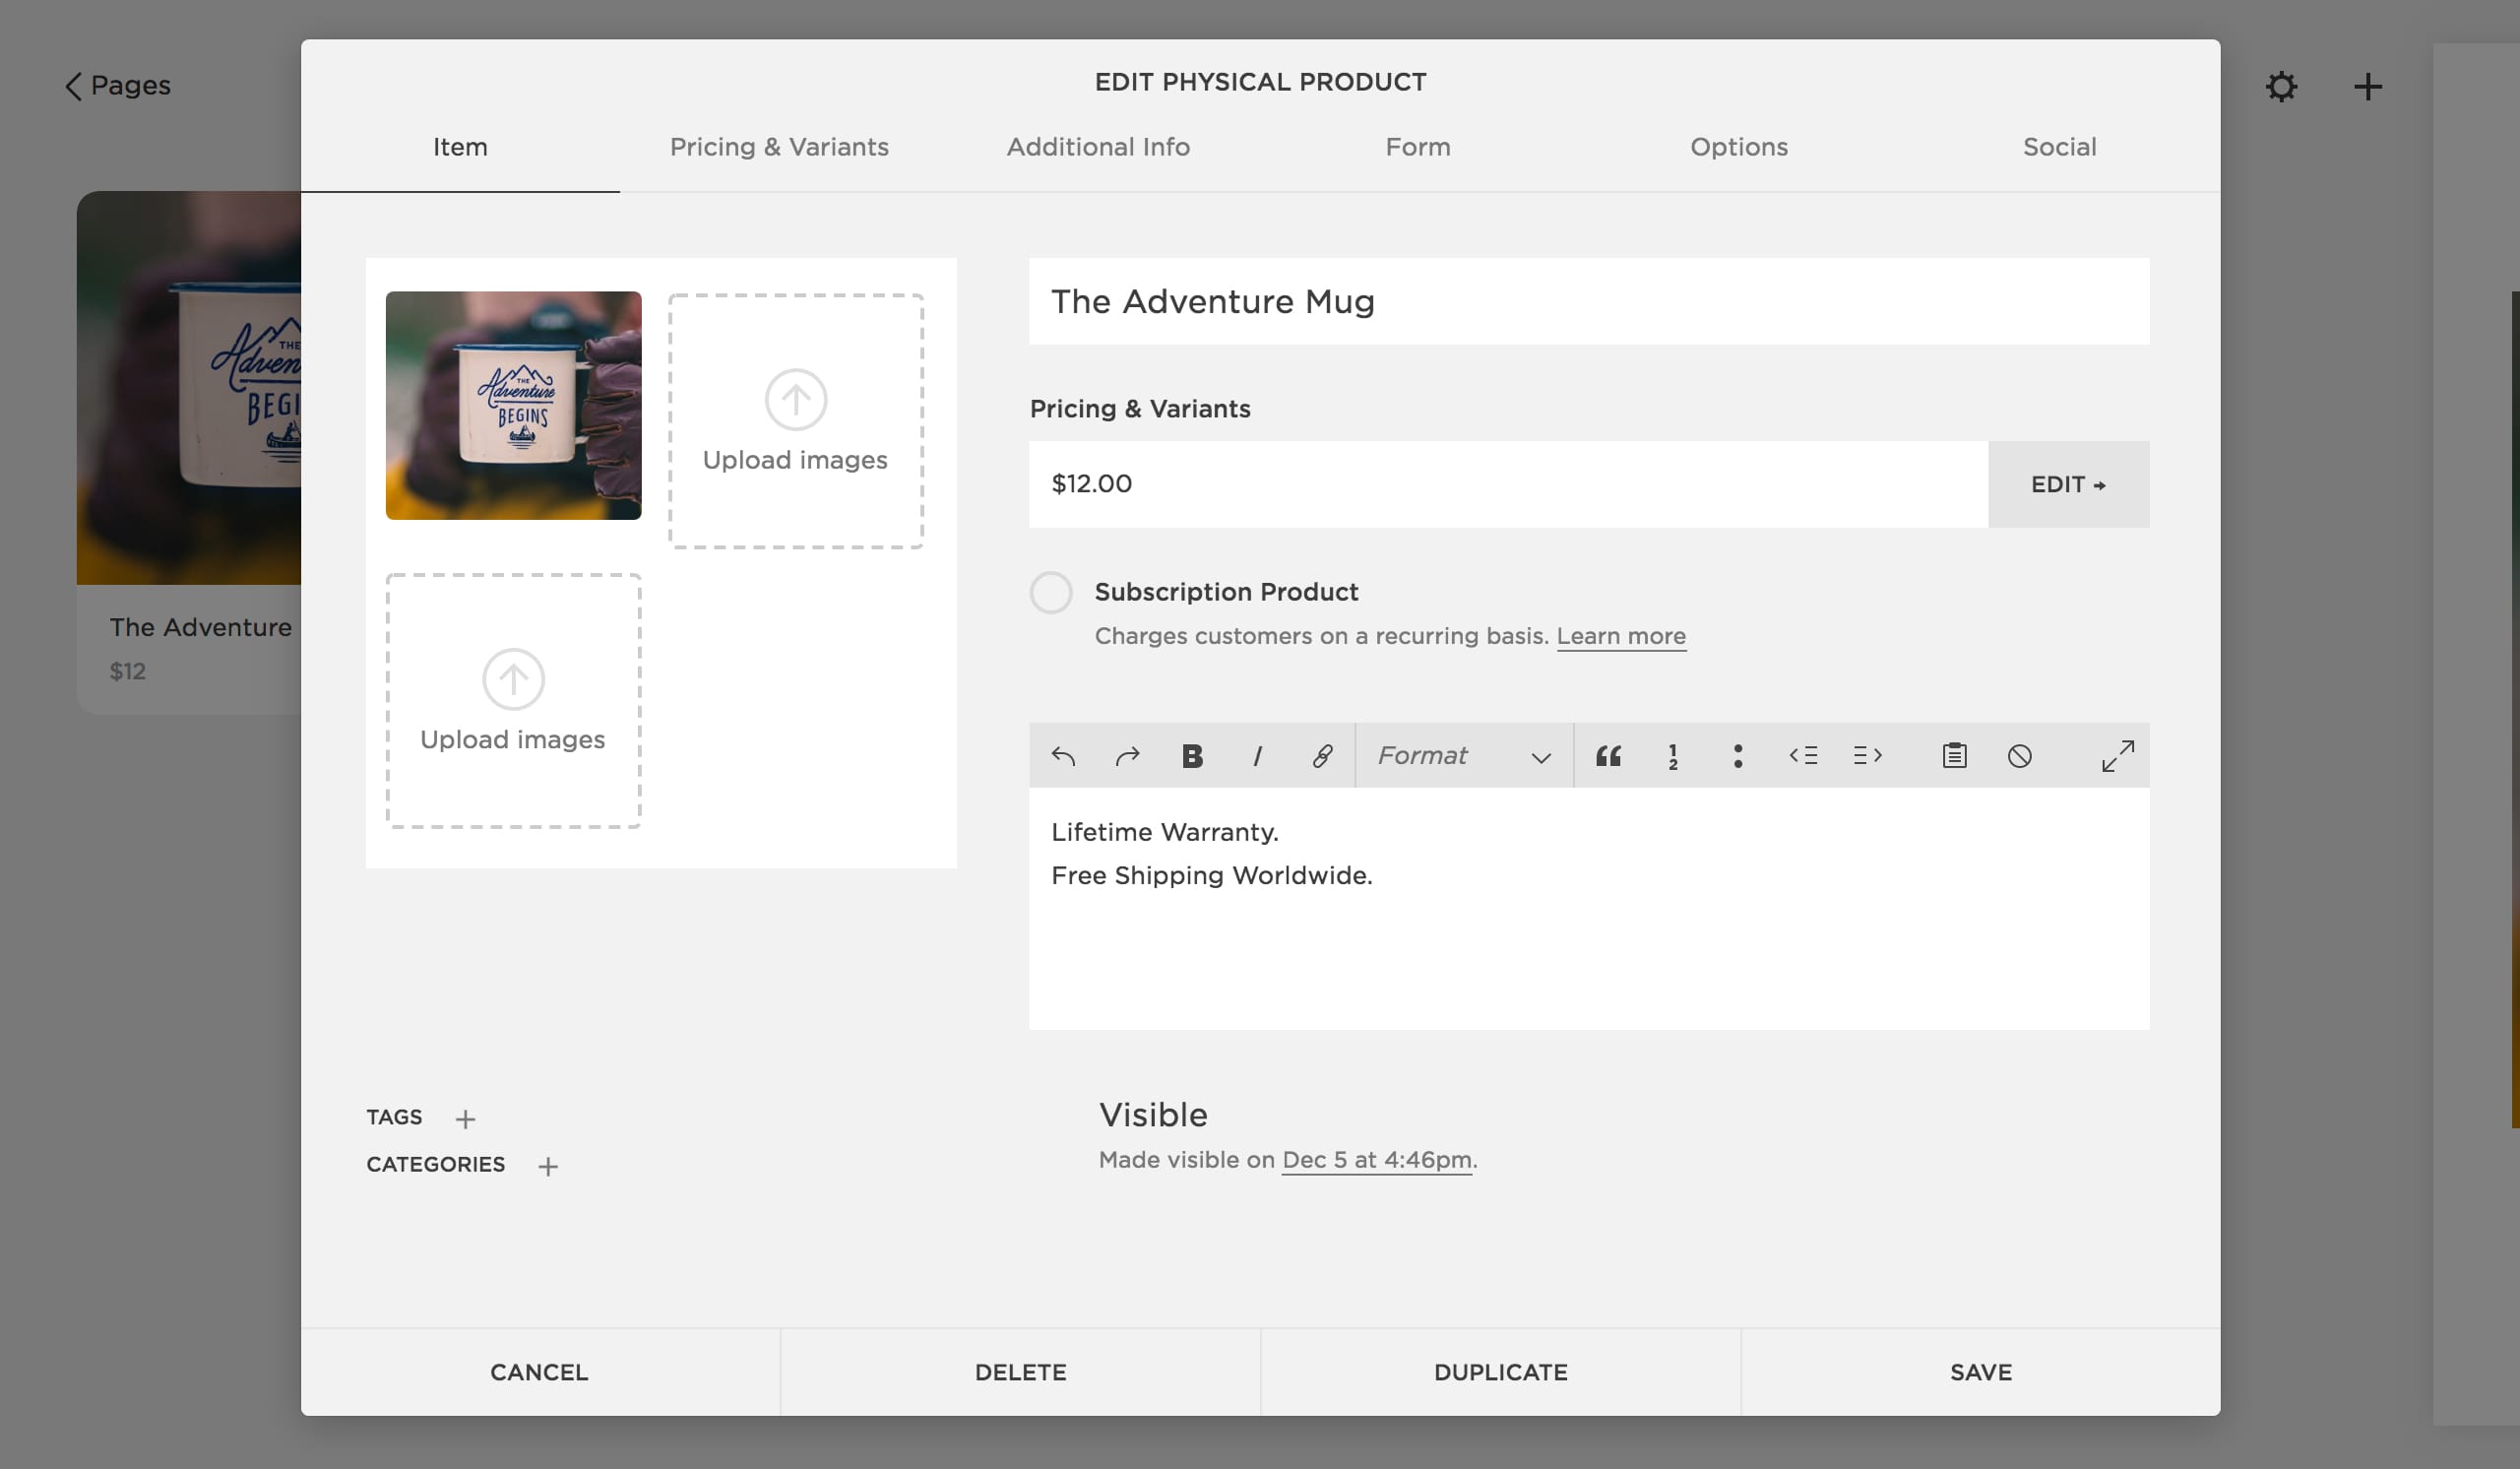
Step Four: Add your product. Primary Navigation > Plus Icon > Products. Go through the relevant sections adding a product title, image, price and brief description. Click Save and head back to the Pages home.
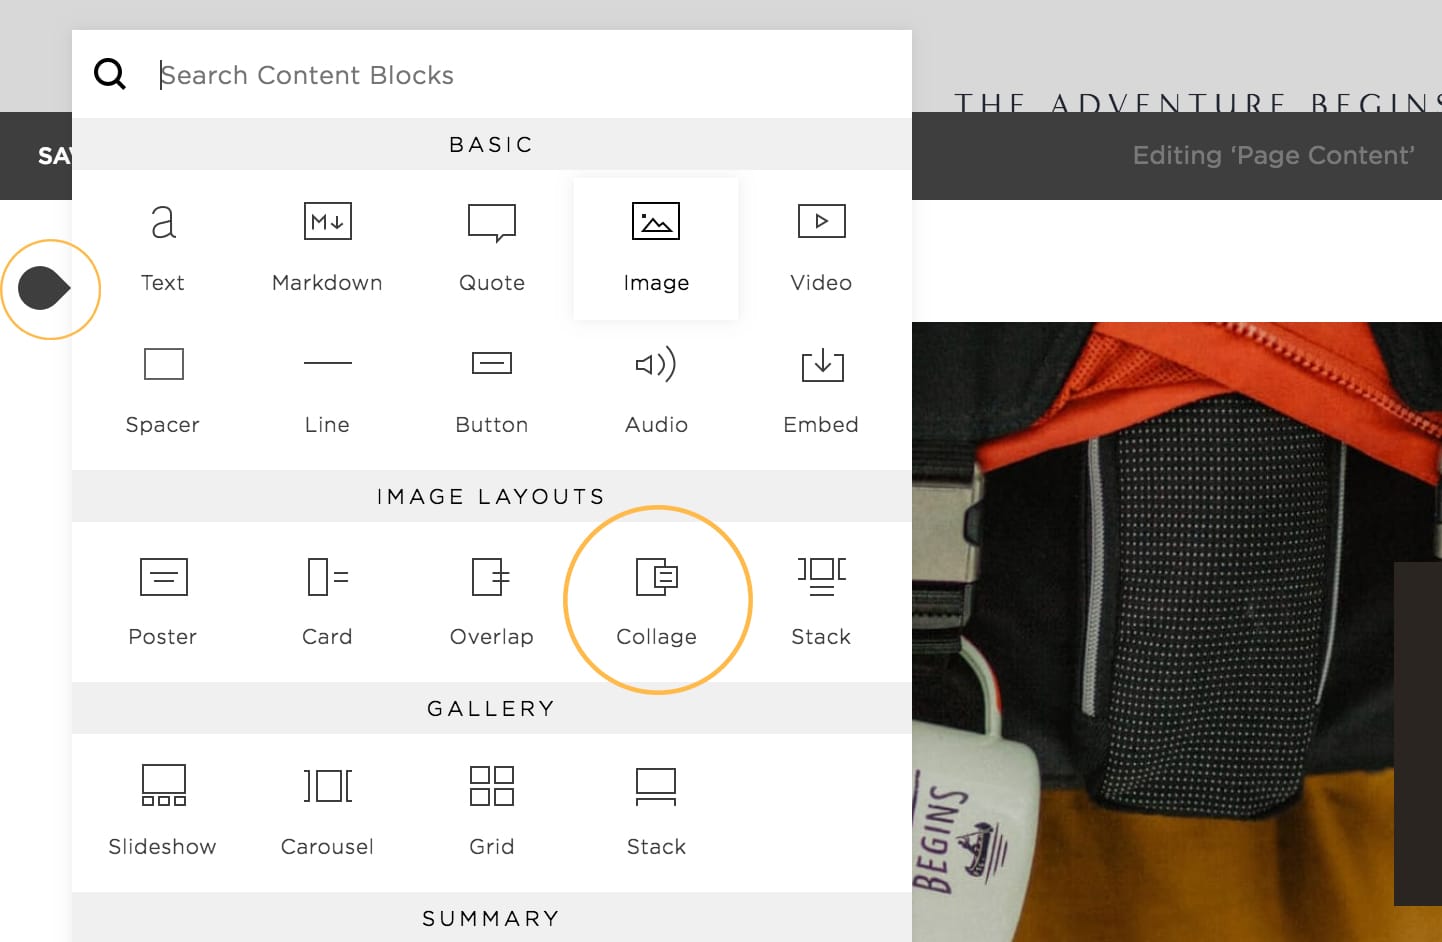
Step Five: Begin adding your story to your Landing Page. Select your Landing Page in the Primary Navigation, hover over the big blank area to the right and click to edit page content.
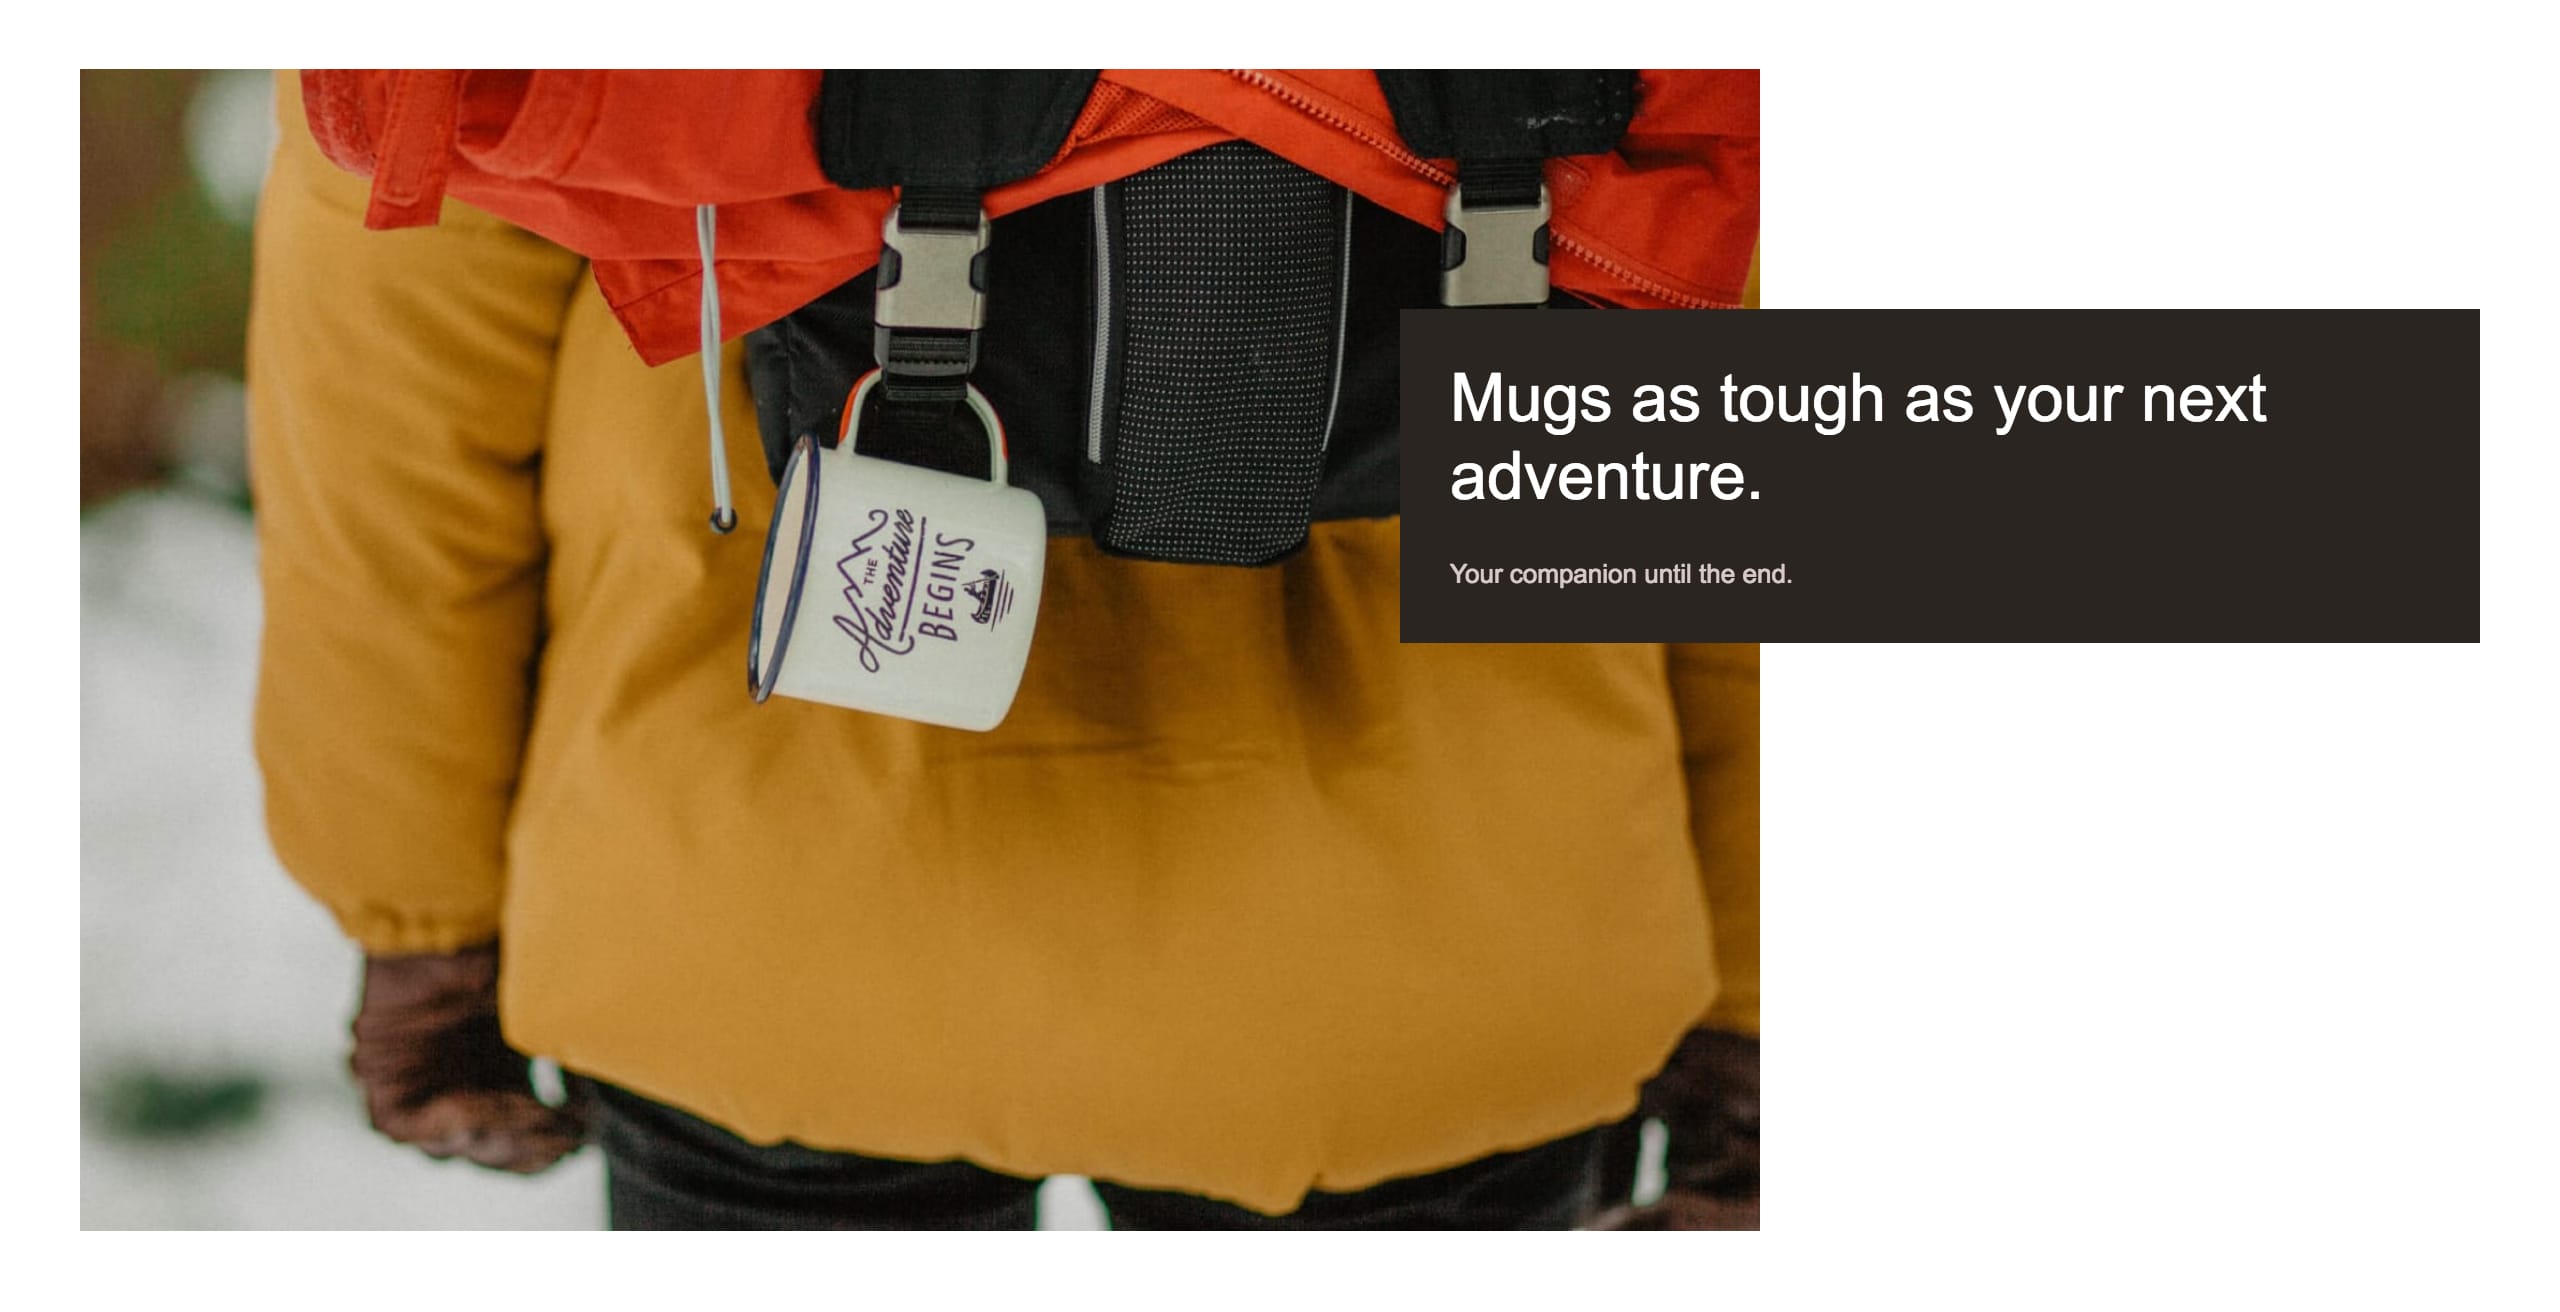
You are now prompted with insertion points (highlighted in the small yellow circle below). Here I begin with a simple image of the product with text overlay using the Image Collage Layout:
Note how the copy identifies with the type of customer I am sending to the page. It identifies they are tough and are in need of hardy gear to last throughout their adventures:
Step Six: Add body copy and imagery. I simple inserted a Text content block, just like I did with the Image above. I also insert an Image Slideshow content block:
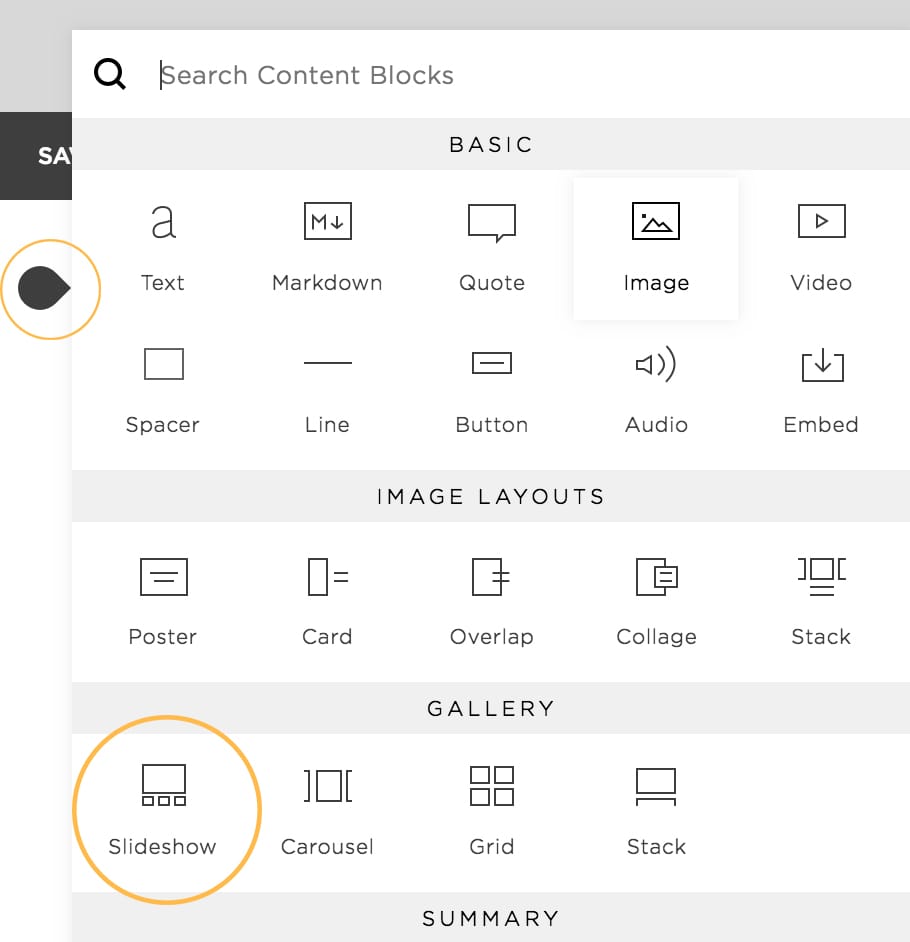
and upload 4 images resulting in a great looking flow of content into imagery:

Note how I begun with our brand founding date, emphasizing we are established (building trust). There is dummy paragraph text in this demo but you would ideally talk about your brand values here.
Step Seven: Insert your Product content block:
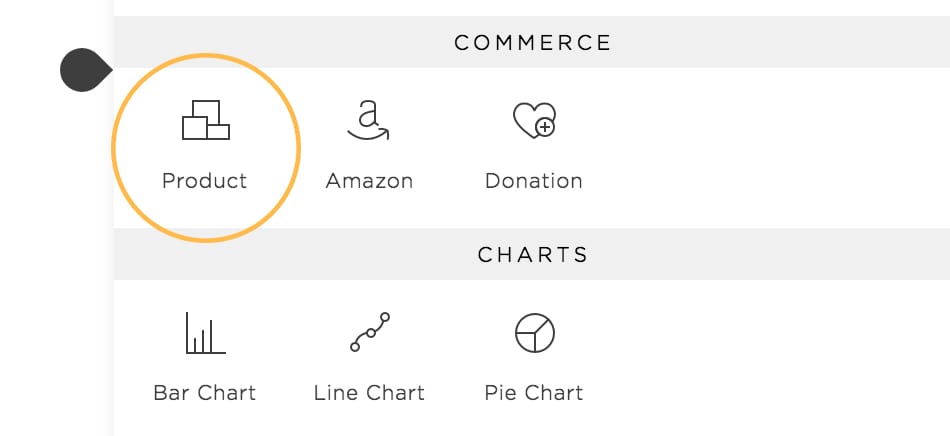
This is really where we can appreciate the power of Squarespace. All Commerce functionality is taken care of and you can choose to drag this Product content block up-or-down within our Landing Page. Here it sits below our Slideshow and paragraph:
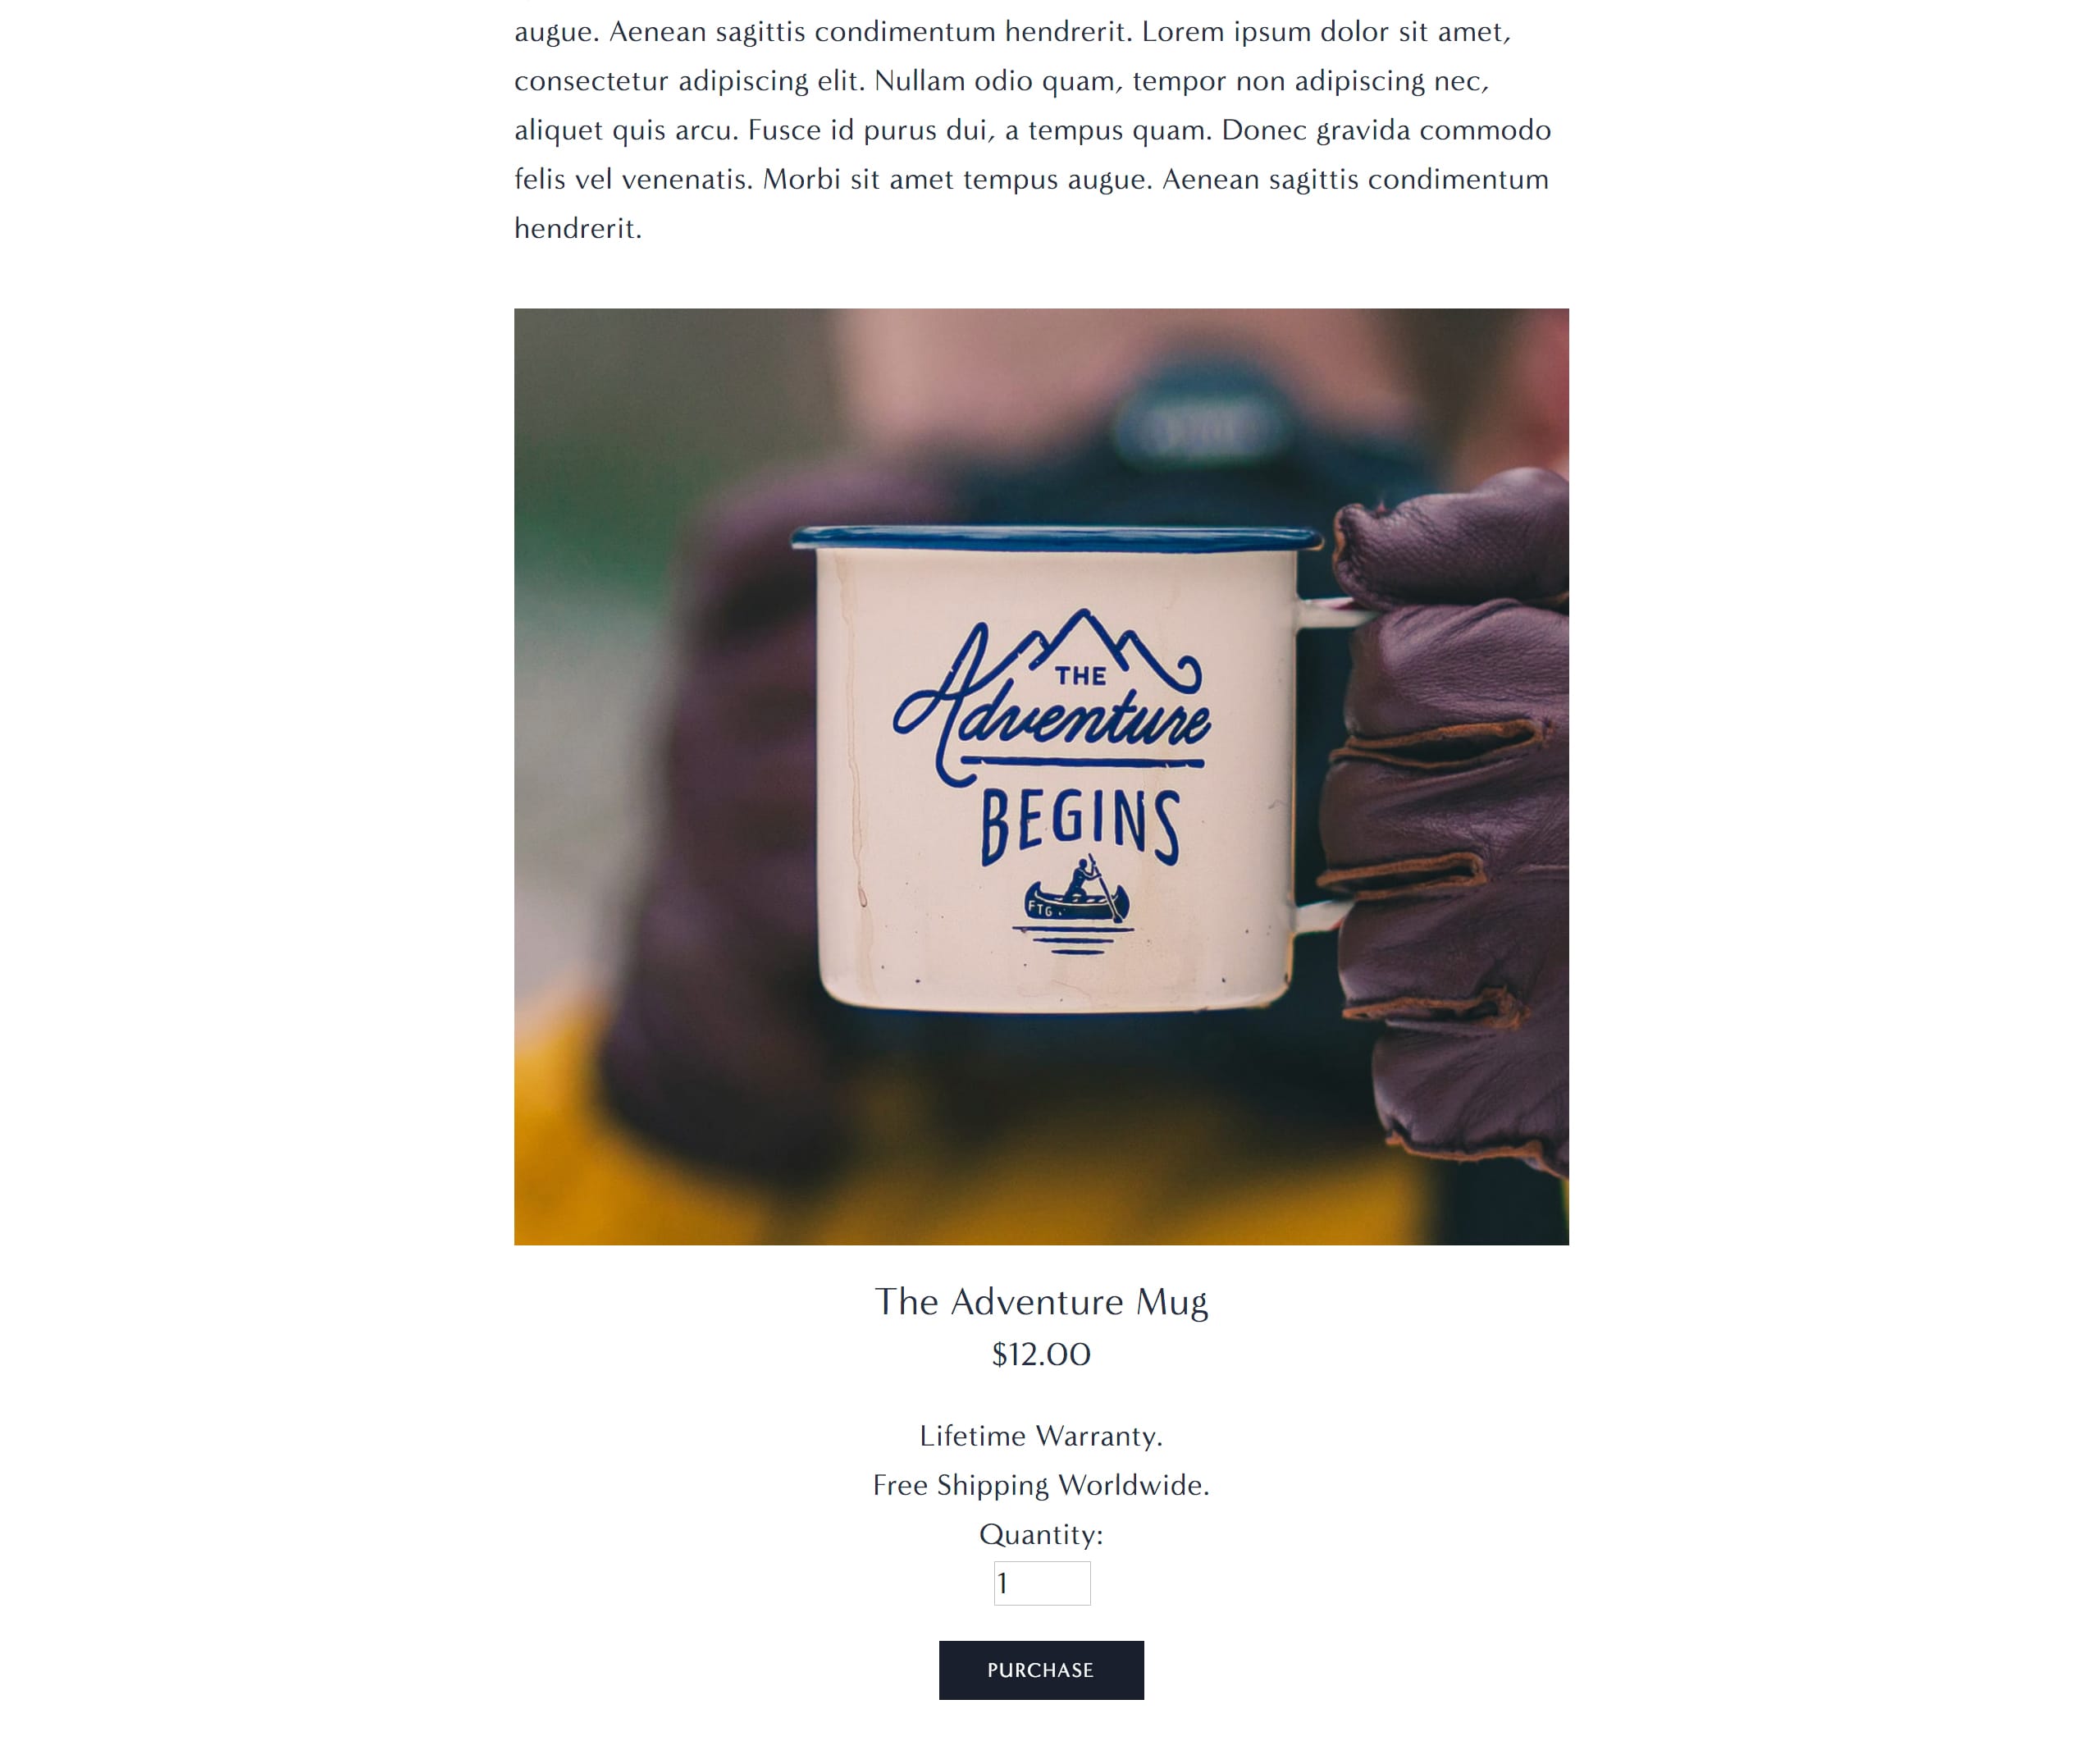
Step Eight: Add a testimonial to strengthen the pitch and answer any doubts. Right at the point of purchase it’s great practice to add a strong testimonial. Simply insert a Quote content block which will look like this:
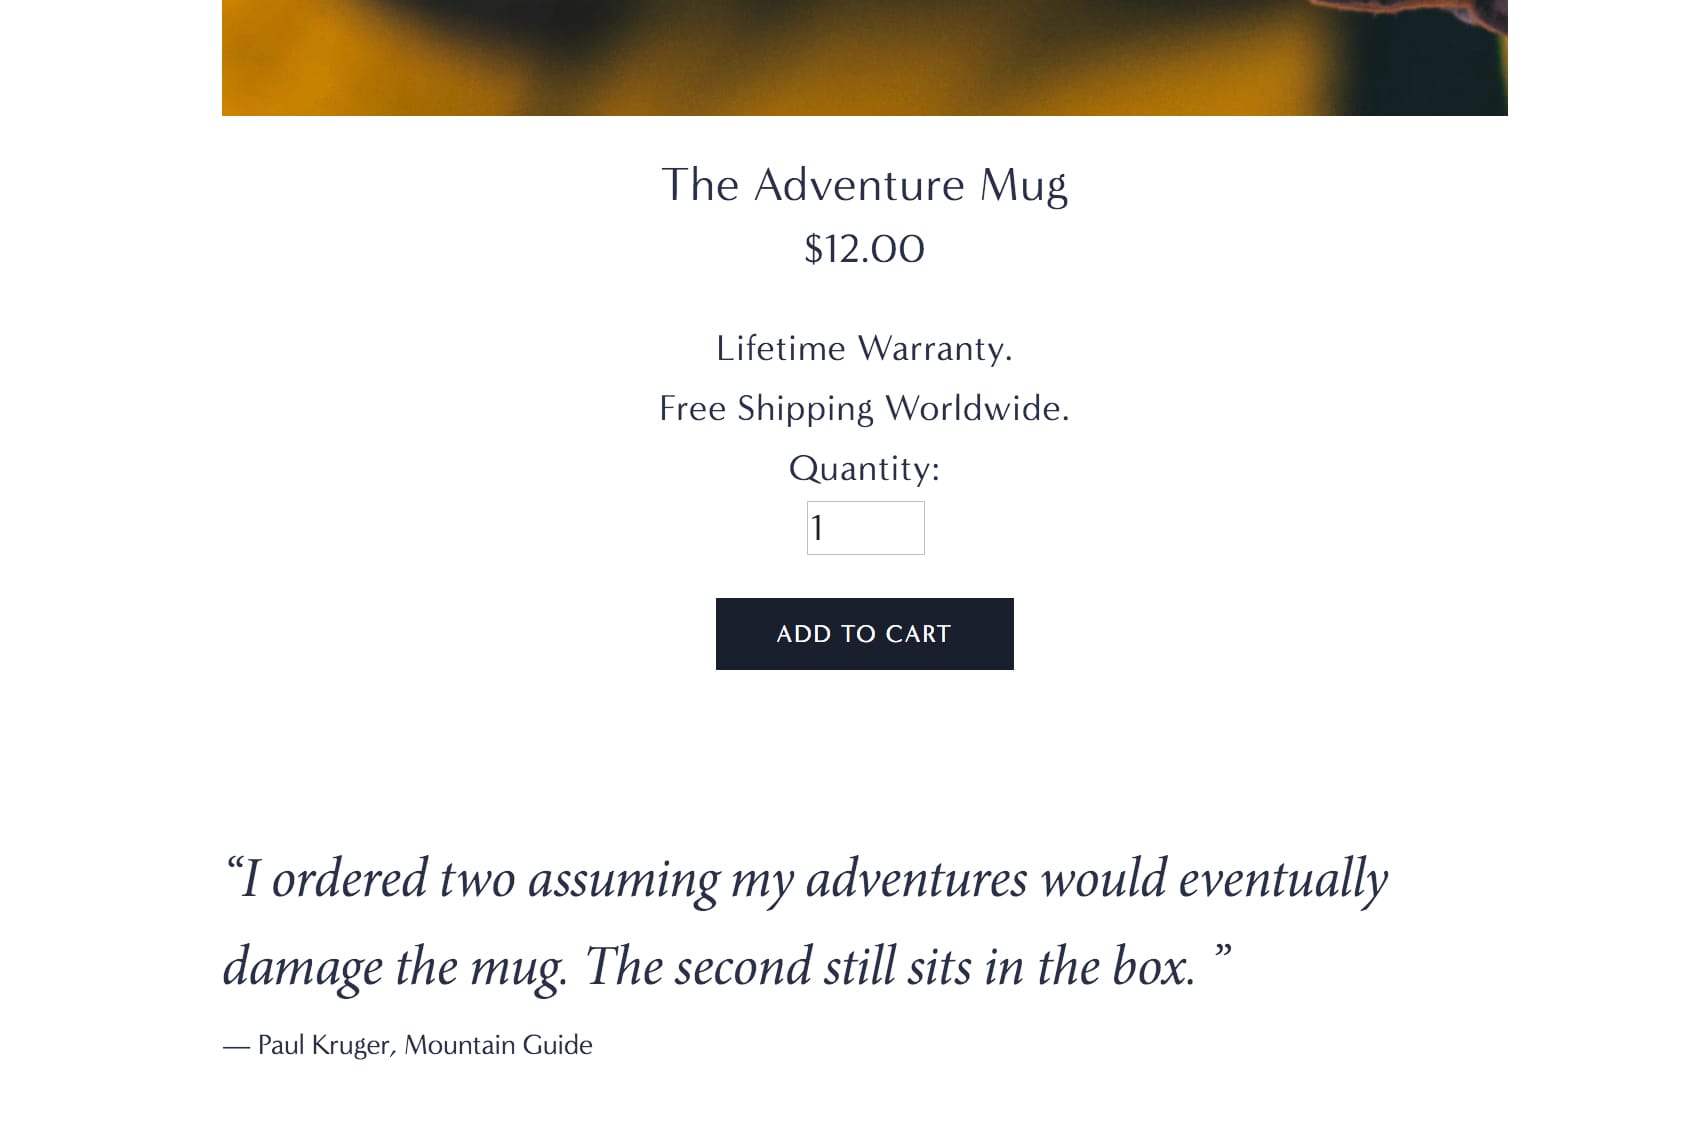
Note how I covered durability, a potential doubt a customer could have at the point of purchase.
To recap we have taken a customer who enjoys the outdoors on a journey in our Landing Page. We started with a great product image on a backpack, identifying with their gear needs. We introduced the brand with copy, then the product with an image gallery. We then inserted a clean checkout block followed by a perfect testimonial to answer any doubts.
Through the above storytelling, our customer would no doubt be convinced to buy our product.
FAQ: What are the benefits of using Squarespace?
Squarespace is a leading online website builder. What sets them apart is their superior level of design and award-winning customer support team available 24/7. Other main benefits are:
- No Website Hosting Needed - their platform is fast and secure.
- Online Content Management - all edits are done within your browser, no software needed.
- Easily Drag and Drop Images - unlimited galleries with unlimited bandwidth.
- Free Domain Name - when registering for your first website, if you pay annually (renews at standard rate).
- Beautifully Responsive - all templates work for all devices, so you only have to design your website once. Test and preview how your website will appear on a range of screen sizes.
- Blog Sections - can easily be added for content marketing and to share your journey.
- Commerce Solutions - are an upgrade away if you want to start selling products.
- Email Marketing - gather email addresses, send marketing emails and analyze the reader email activity.
- Member Areas - create private website sections only accessible to signed-up or paying members.
- Scheduling - add an online scheduler to your site to diversify your revenue with professional services or classes.
That’s a wrap! Don’t forget your 10% Off coupon*: OPL10
That’s a wrap! Don’t forget your 10% Off coupon: OPL10
I hope you enjoyed this overview and tutorial on how to building a converting Landing Page for your service. Props to Squarespace for creating a platform where we can create beautiful Commerce websites, easily. If you missed it I wrote a tutorial last month on how to How to create a Converting Landing Page using Squarespace.
* The OPL10 coupon offer only applies to first payment of subscription on Squarespace, does not apply to future recurring payments or monthly plans, and may not be combined with any other offer codes or discounts.
Much love,
Rob
Twitter: @robhope
Email: [email protected]


![How to create a free link in Bio Site in minutes [video]](https://assets.onepagelove.com/cdn-cgi/image/width=420,height=222,fit=cover,gravity=top,format=jpg,quality=85/wp-content/uploads/2022/07/sqsp-thumb.jpg)