![]()
The Squarespace all-in-one platform allows anyone to register a domain, build a beautiful website online, sell their products and even send marketing emails to their customers.
In this article I’m going to show you just how easy it is to setup your product page and sell your first product using the Squarespace Commerce platform.
One Page Love Exclusive Coupon
Yay! Squarespace has been kind enough to give One Page Love readers the exclusive coupon OPL10 for 10% Off* your first website or domain purchase. (There is a free 14-day trial with no credit card needed, so you can try risk-free.)
Please note: this article is based on the Squarespace 7.0 platform.
The new Squarespace 7.1 platform features an improved user interface, so the screenshots might differ but the majority of the content is still relevant. Squarespace 7.1 offers a much more flexible way to build websites, regardless of which template you start with. Squarespace 7.1 templates also support all features and style options including an unlimited number of page sections.
Step One – Upgrade to a Commerce pricing tier
Commerce functionality is only available for the Squarespace Commerce Basic pricing tier starting at $23 per month. After upgrading, there are no more hidden costs, zero transaction fees and functionality to add unlimited products.
It’s also good to know when your Commerce business really takes off, there is a Commerce Advanced pricing tier for advanced features like:
- Abandoned Cart Autorecovery
- Real Time Carrier Shipping
- Flexible Discounts
- Gift Cards
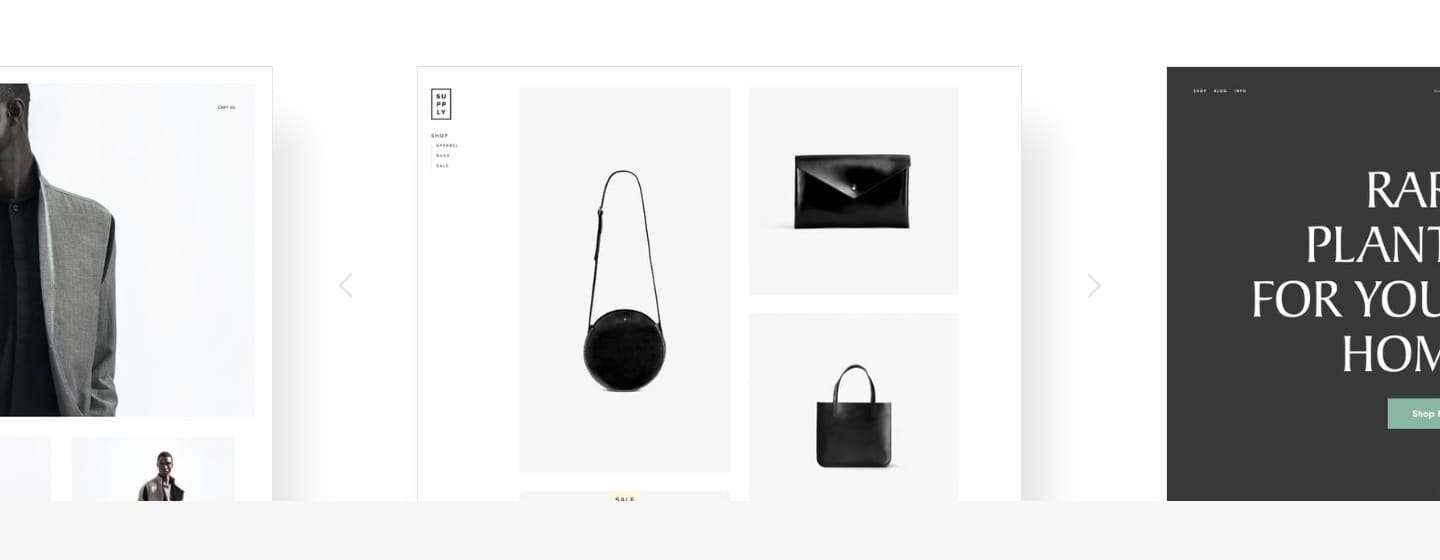
Step Two – Choose a Commerce optimized template
All Squarespace templates include functionality to add a Commerce store section to your website. However there are 8 Squarespace Commerce templates tailored for Commerce and offer better starting points to sell and search your products.
Step Three – Add your products
Products are organized into two different views:
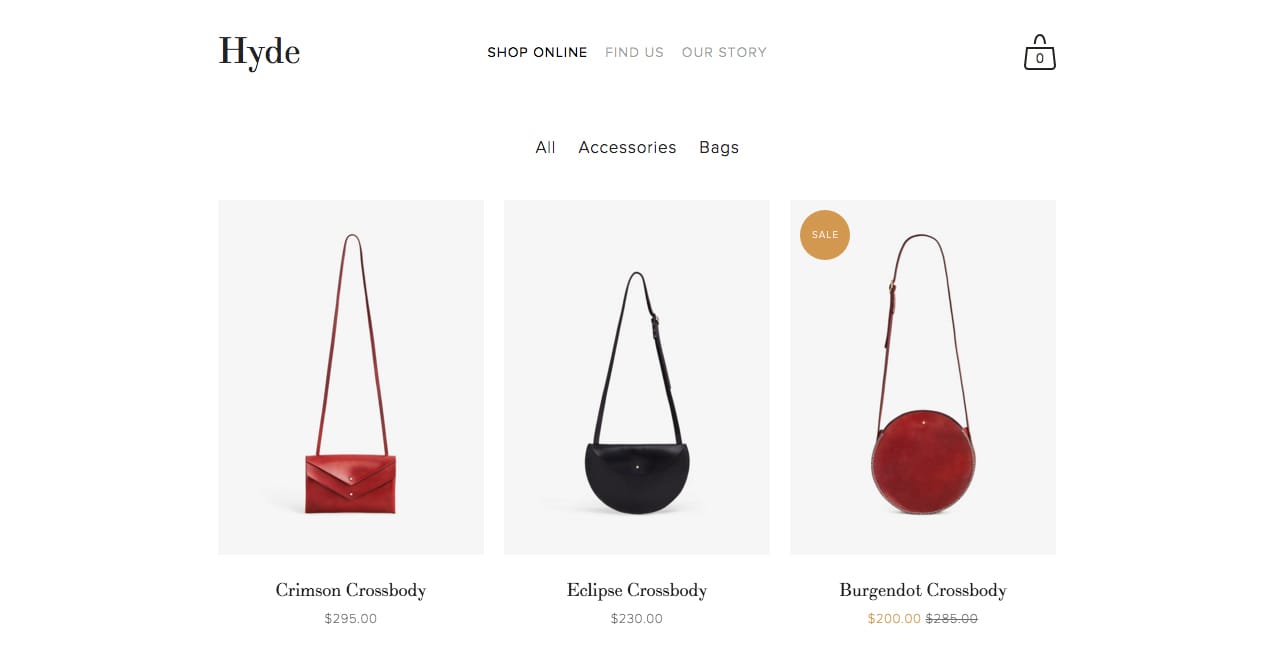
01 – Product pages – a list of multiple products:
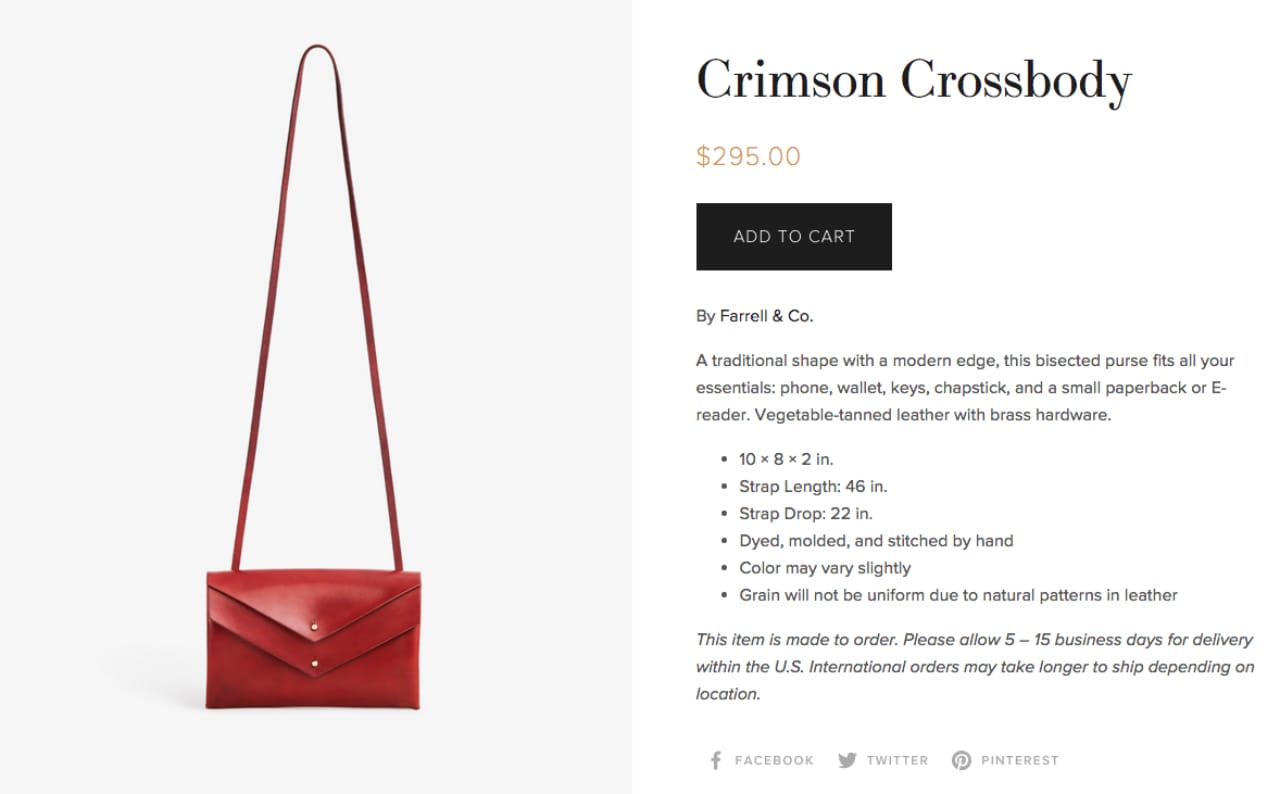
02 – Product item pages – an individual item with more images, information and a purchase button:
To add a product page, head to Home Menu > Pages > Plus Icon (in top navigation) > Products:
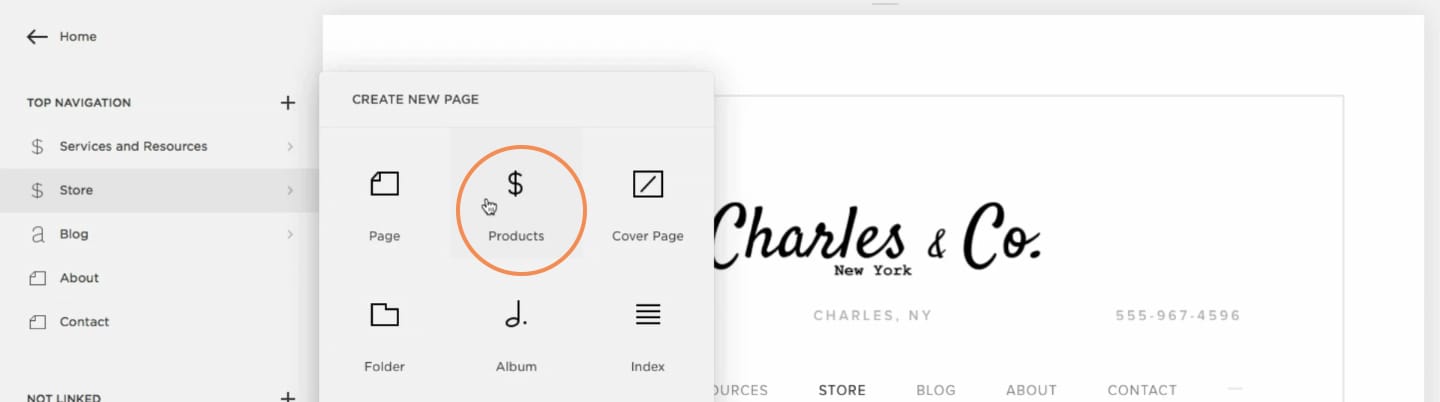
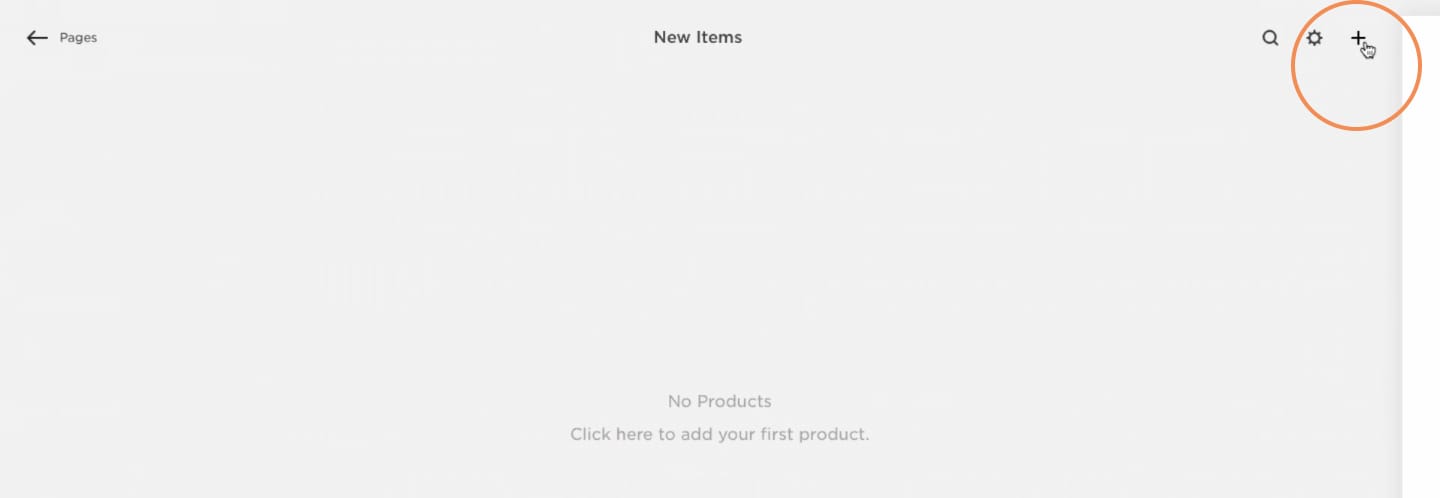
Add a page title to name your new product page. Now select the new product page to open up the product listing area. Click the plus icon top-right:
Then select your product type:
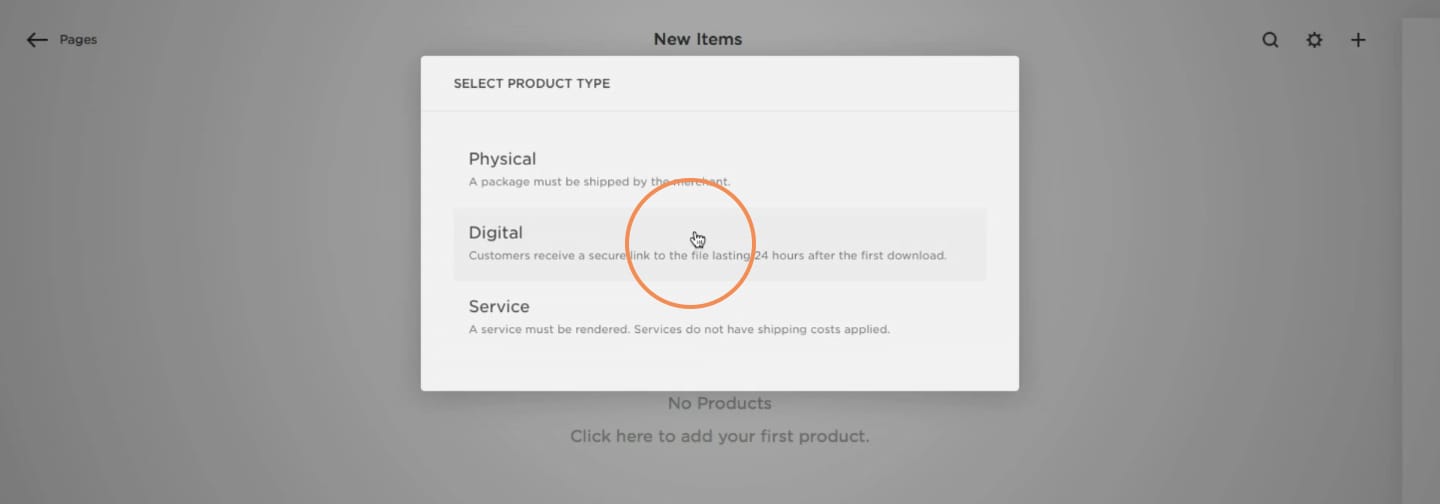
There are 4 main product types:
- Physical products
- Digital products
- Service products
- Gift cards
Next you simply add your product information accordingly and repeat the process to add more products. Learn more about adding products to your store.
Step Four – Connect a payment processor
Once you have added one or more products head to Home Menu > Settings > Payments:

Select if you want Stripe (for Visa, Mastercard, American Express) checkouts, PayPal checkouts or both. Great to know you can also accept Apple Pay from customers checking out on a supported device.
Learn more on how to connect a payment processor.
Step Five – Choose shipping options
If you are selling digital goods or services you can skip this step. If you are selling physical products head to Home Menu > Settings > Shipping.
There are 4 different shipping options:
- Flat rate – define a charge for every order and a flat fee for each item
- Rates by weight – let the cost depend on the total weight of the purchase
- Carrier Calculated (Commerce Advanced plan only) – request a quote from your carrier using weight, distance, and package size
- Free shipping – no additional costs to the customer
Each has advantages and disadvantages, you need to choose the option right for your business. Learn more about shipping methods including a pros and cons breakdown.
Step Six – Place a test order and fine tune the user experience
By placing a test order you can see what checkout is like for your customer and confirm the experience is as expected. There are two ways to go about this:
- Place a real order – then immediately refund yourself
- Use Test Mode – to simulated a charge without any real payments (Home Menu > Settings > Payments > Test Mode)
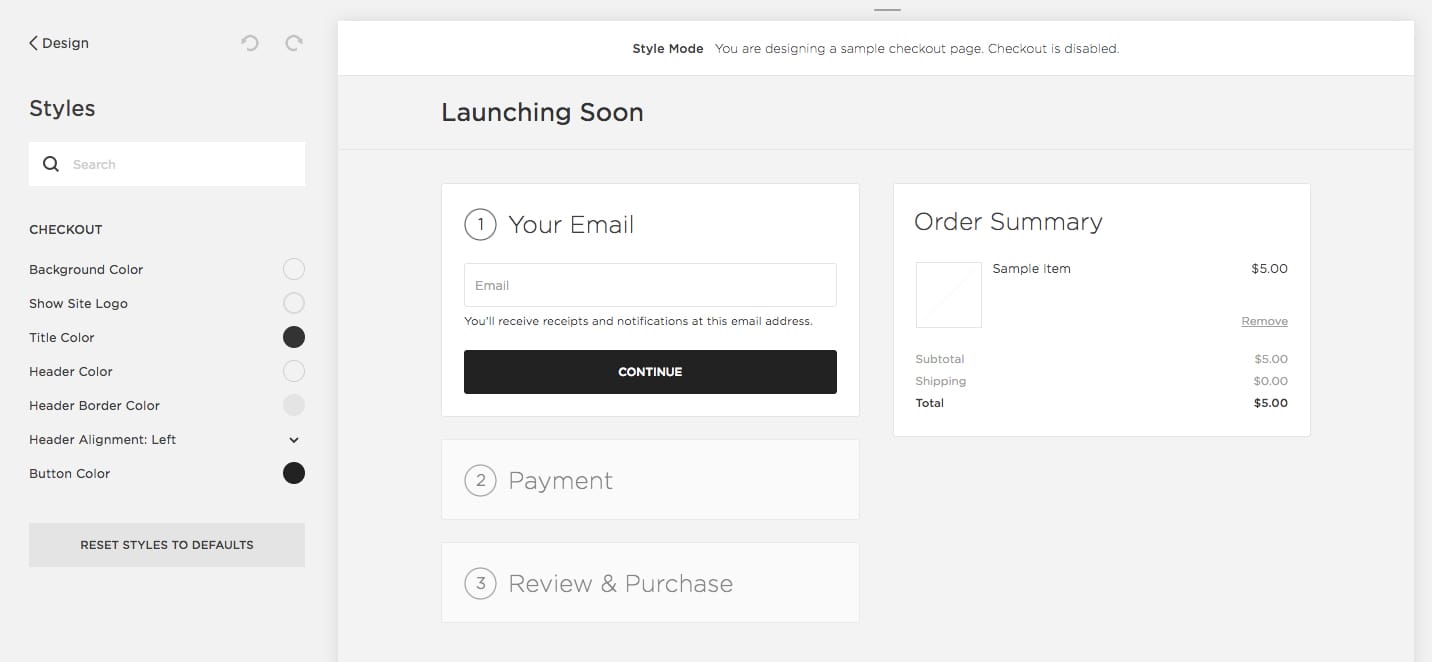
Keep fine tuning the user experience by tweaking fonts and button colors using the style editor. Head to Home Menu > Design > Checkout Page Style Editor:
FAQ: What other features do Squarespace Commerce Tools have?
- Product Catalogs – there’s no limit to the number of products or services you can sell
- Drag and Drop – organize and manage your products with tags, categories, and our drag and drop sorting tool
- Abandoned Checkout Recovery – remind customers about items in their cart and entice them to complete a purchase (Commerce Advanced plan only)
- Point Of Sale – the single-page checkout option is mobile-optimized, making it easy for customers to buy on all device
- Advanced Analytics – study visitor activity to enable better informed business decisions and continuously improve your Commerce store
To learn a bit more watch the Squarespace Commerce Tutorial series on their YouTube channel.
FAQ: What are the benefits of using Squarespace?
Squarespace is a leading online website builder. What sets them apart is their superior level of design and award-winning customer support team available 24/7. Other main benefits are:
- No Website Hosting Needed - their platform is fast and secure.
- Online Content Management - all edits are done within your browser, no software needed.
- Easily Drag and Drop Images - unlimited galleries with unlimited bandwidth.
- Free Domain Name - when registering for your first website, if you pay annually (renews at standard rate).
- Beautifully Responsive - all templates work for all devices, so you only have to design your website once. Test and preview how your website will appear on a range of screen sizes.
- Blog Sections - can easily be added for content marketing and to share your journey.
- Commerce Solutions - are an upgrade away if you want to start selling products.
- Email Marketing - gather email addresses, send marketing emails and analyze the reader email activity.
- Member Areas - create private website sections only accessible to signed-up or paying members.
- Scheduling - add an online scheduler to your site to diversify your revenue with professional services or classes.
That’s a wrap! Don’t forget your 10% Off coupon*: OPL10
That’s a wrap! Don’t forget your 10% Off coupon: OPL10
I hope you enjoyed this tutorial on how to sell your products using the Squarespace Commerce platform. Props to Squarespace for creating a platform where we can create beautiful Commerce websites, easily. If you missed it I wrote a tutorial last month on how to send your next campaign using Squarespace Email Marketing Tools.
* The OPL10 coupon offer only applies to first payment of subscription on Squarespace, does not apply to future recurring payments or monthly plans, and may not be combined with any other offer codes or discounts.
Much love,
Rob
Twitter: @robhope
Email: [email protected]


![How to create a free link in Bio Site in minutes [video]](https://assets.onepagelove.com/cdn-cgi/image/width=420,height=222,fit=cover,gravity=top,format=jpg,quality=85/wp-content/uploads/2022/07/sqsp-thumb.jpg)