![]()
There is no question Squarespace has the best designed website templates of all the online builders.
Along with their intuitive backend controls, we can easily setup a One Page website within 5 minutes.
In this tutorial I’m going to walk you though the sign up process, template selection, basic editing and then publishing your first awesome Squarespace website.
One Page Love Exclusive Coupon
Yay! Squarespace has been kind enough to give One Page Love readers the exclusive coupon OPL10 for 10% Off* your first website or domain purchase. (There is a free 14-day trial with no credit card needed, so you can try risk-free.)
Please note: this article is based on the Squarespace 7.0 platform.
The new Squarespace 7.1 platform features an improved user interface, so the screenshots might differ but the majority of the content is still relevant. Squarespace 7.1 offers a much more flexible way to build websites, regardless of which template you start with. Squarespace 7.1 templates also support all features and style options including an unlimited number of page sections.
Step 1: Pick a Squarespace template
Head over to squarespace.com/templates and pick a template similar to your needs. Remember this is only a starting point and you are able to easily switch templates at any time.
If you need a little more help choosing a template, here are articles I wrote curating my favorite Personal and Landing Page Squarespace templates.
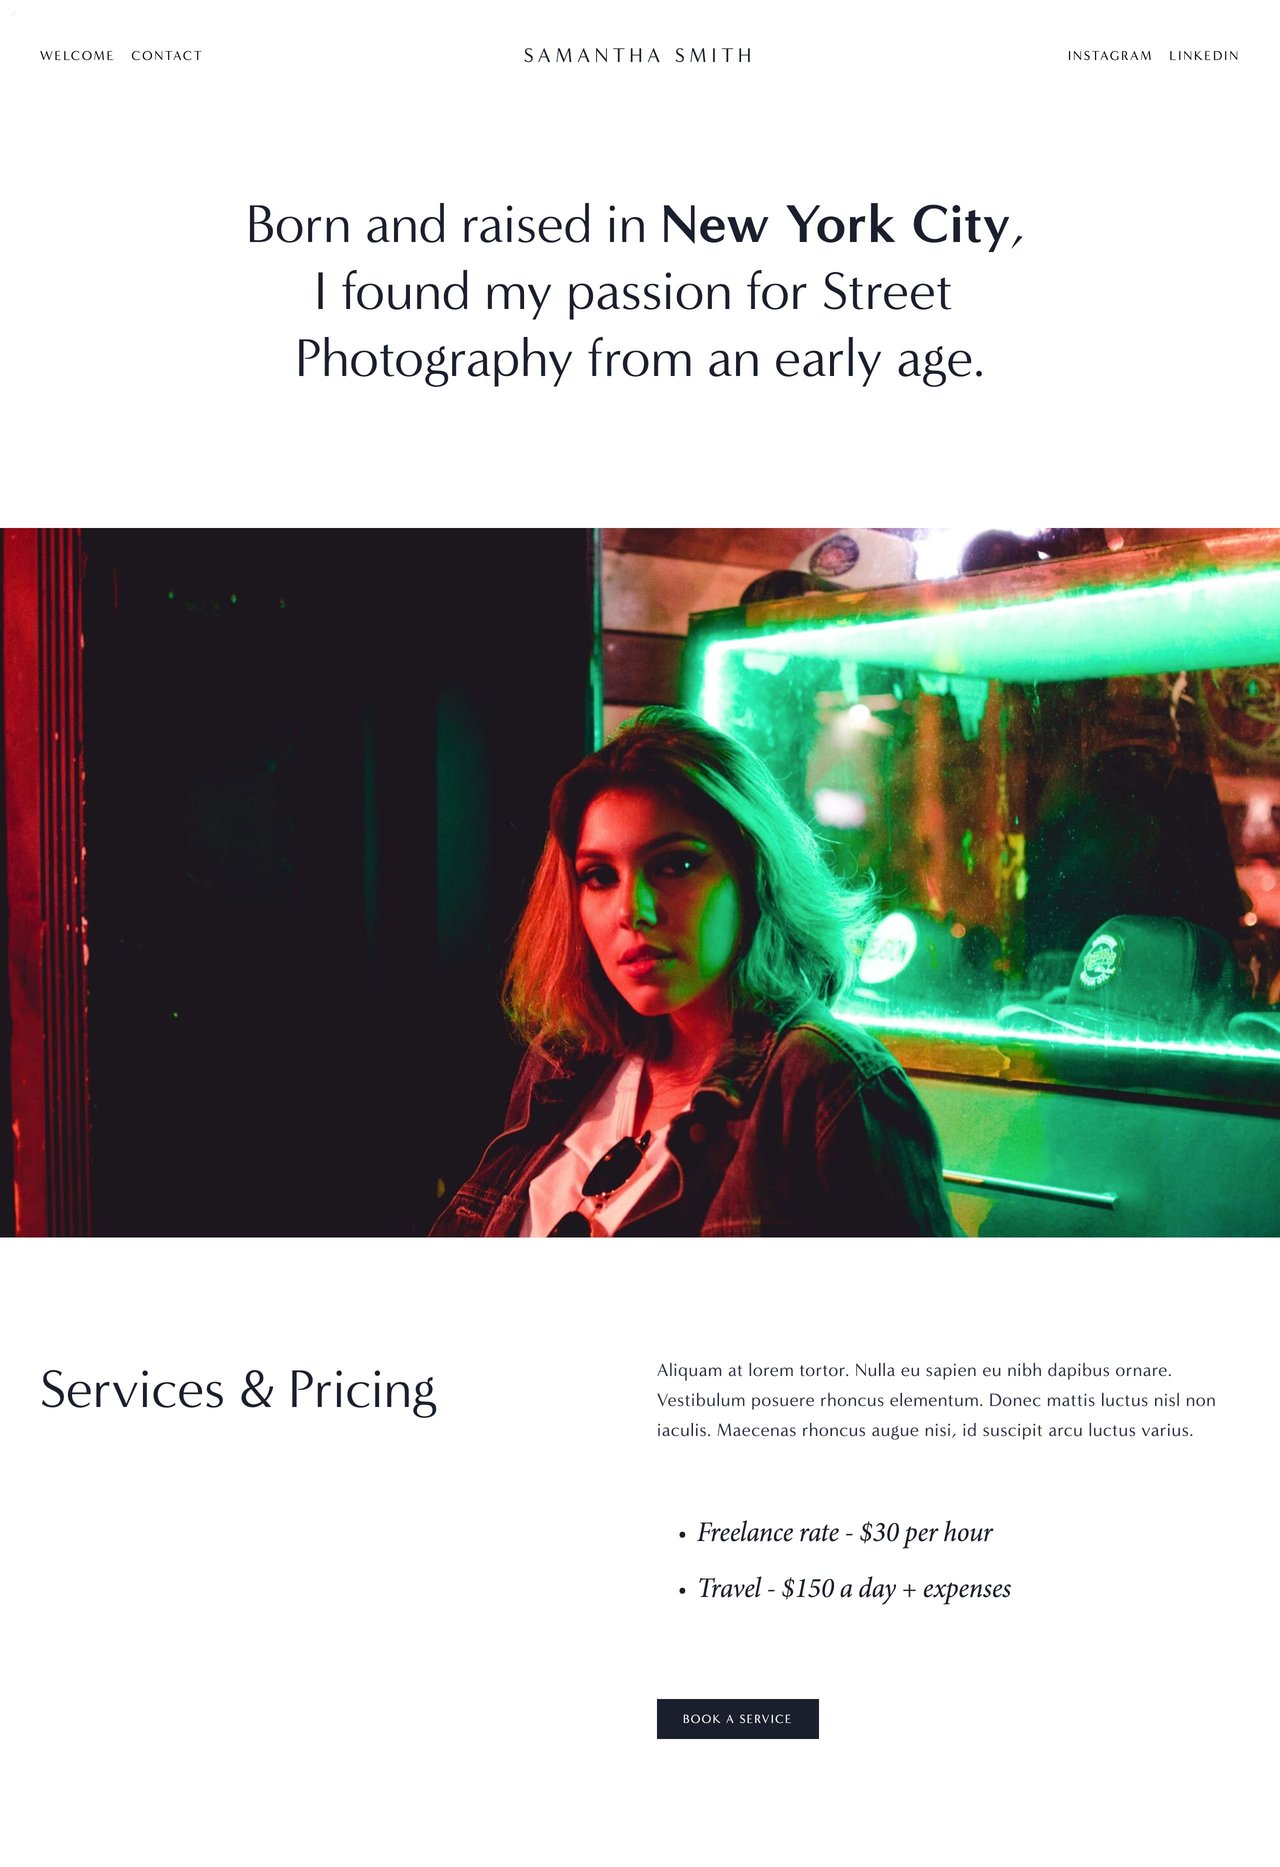
In this tutorial I’m using the Sofia template because of it’s clean, long-scrolling layout – perfect for a simple personal website.

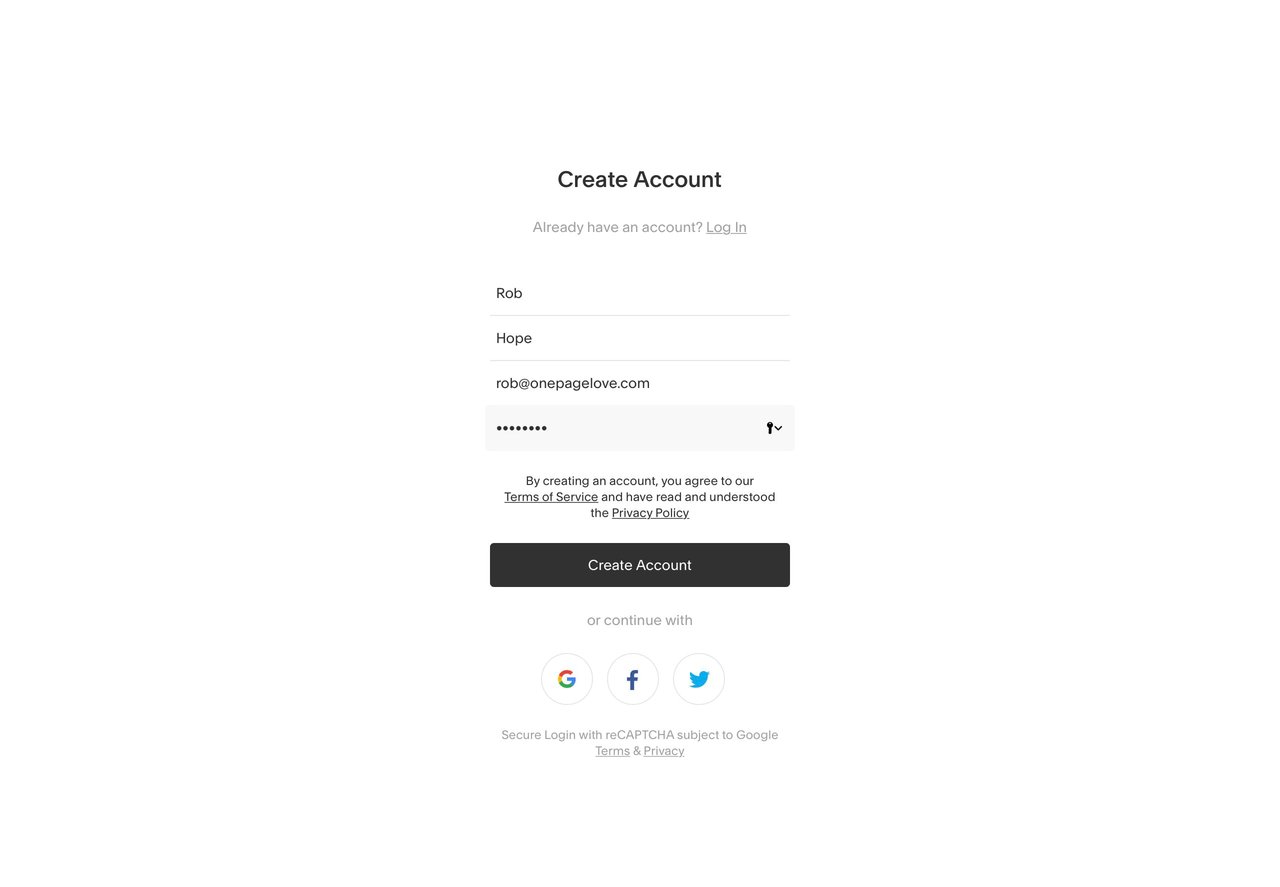
Step 2: Create a free-trial account
Once you have selected your template starting point, you are prompted to quickly sign up so the template saves to your account. The trial period is 14 days and allows access to all 80 Squarespace templates, no credit card needed.
Step 3: Replace demo content with your own
After sign up, you are conveniently directed straight into editing mode. Before we begin editing I want to point out the left area is the main Squarespace navigation containing the editor links and account options. On the right is your actual website with interactive content blocks.
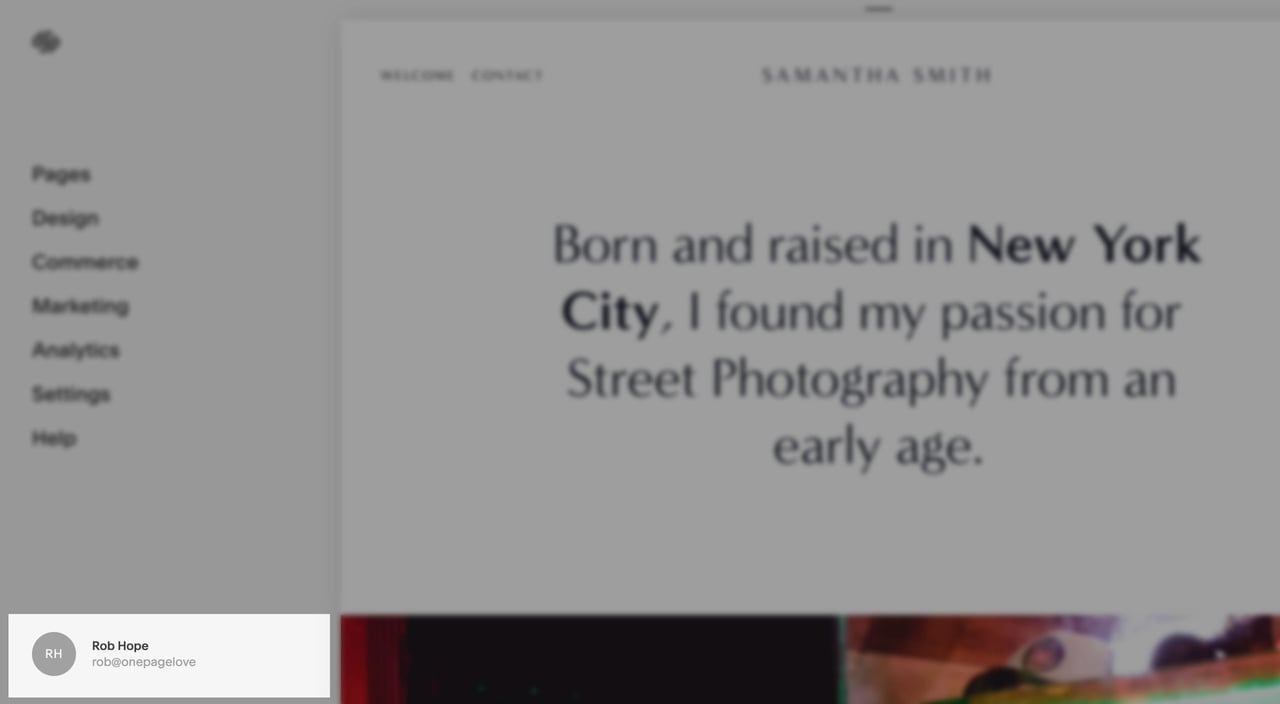
If you ever need to access this navigation; ensure you are logged in, hover your cursor over the top-left of your website until the arrow appears, then click it. Conversely clicking the arrow while the editor is open will toggle/close the navigation:
We can start our website build from scratch but it’s faster to replace the beautifully arranged demo content with our own.
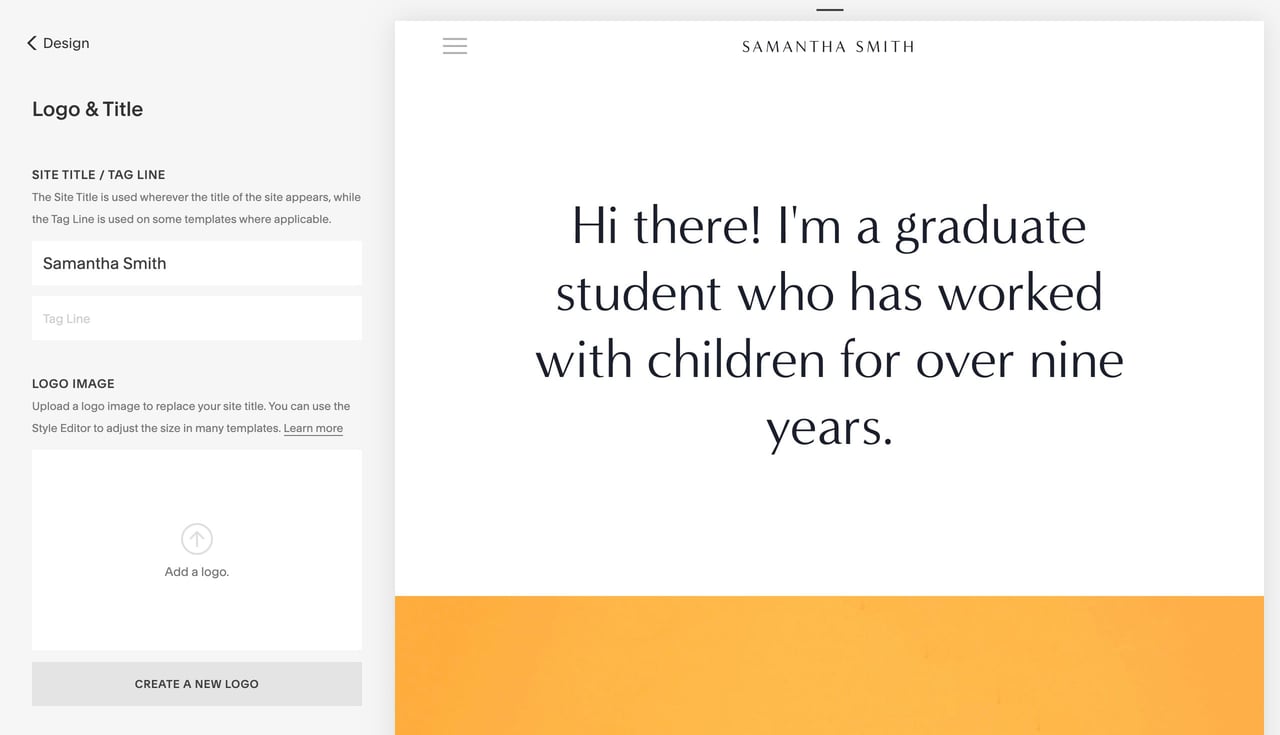
Step 3.1 – Set Website Title: Head to Design in the main Squarespace navigation > Logo & Title > Site Title and add your name or company name. Hit Save on the top left and your changes should reflect. In this tutorial I’m creating a website for street photographer Samantha Smith:
Step 3.2 – Replace Text: Head back to Pages in the main Squarespace navigation. Now hover your cursor over the website introduction area to your right. You are promoted with 2 button links on your top-left: Edit and Settings. Click Edit.
We have now opened the Content Block editor. Click within the introduction text and replace the text with your own. Feel free to style with the options like I’ve done here with Bold text. Click Save on the top-left.

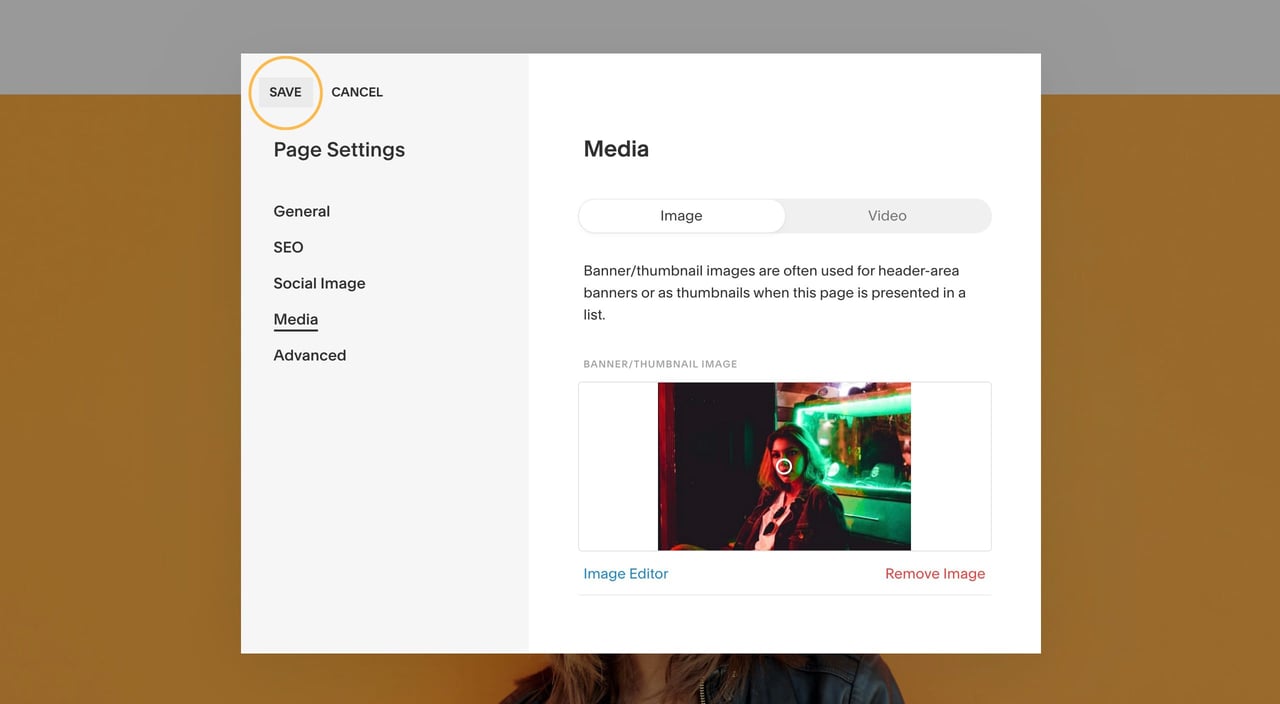
Step 3.3 – Replace Images: Scroll down slightly to the big image ie. the Banner section in the long-scrolling webpage. When prompted click the Banner link option on the top-left. Proceed to Remove the demo image, then upload an image of your own. Remember Squarespace resizes and optimizes your image size, so don’t stress, just upload what you have. Hit Save. And Magic – it looks great.
Continue to edit more text and images if needed. I’m simply going to edit the text within the demo rate card section which I’ll refer to later.
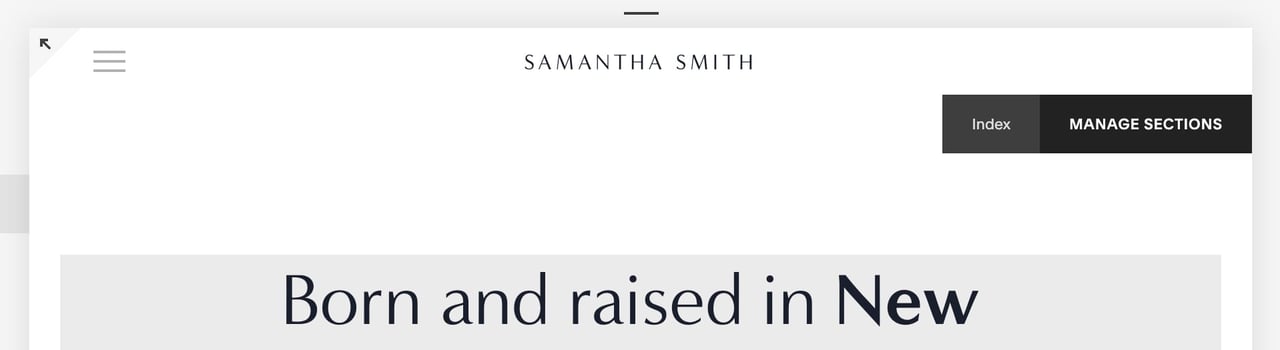
Step 3.4 – Remove Demo Content: Lastly we want to remove demo page sections we don’t need. Scroll up to the top of your page, then hover over the content until you see the Manage Sections button link:
Once clicked, you will be taken to a neat webpage overview where you can delete and even reorder sections by dragging them up and down:
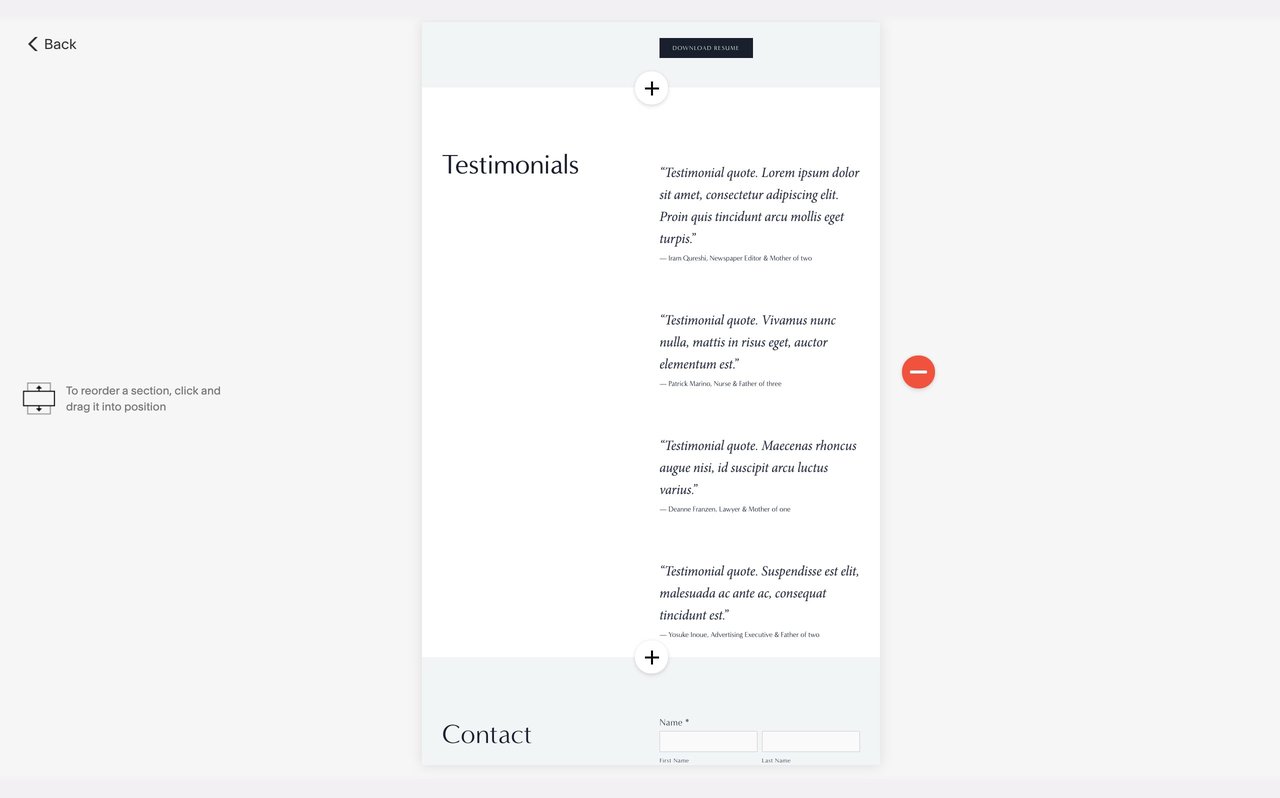
In our demo I removed the Testimonials and Resume sections but kept the Contact section.
Step 4: Pay to publish
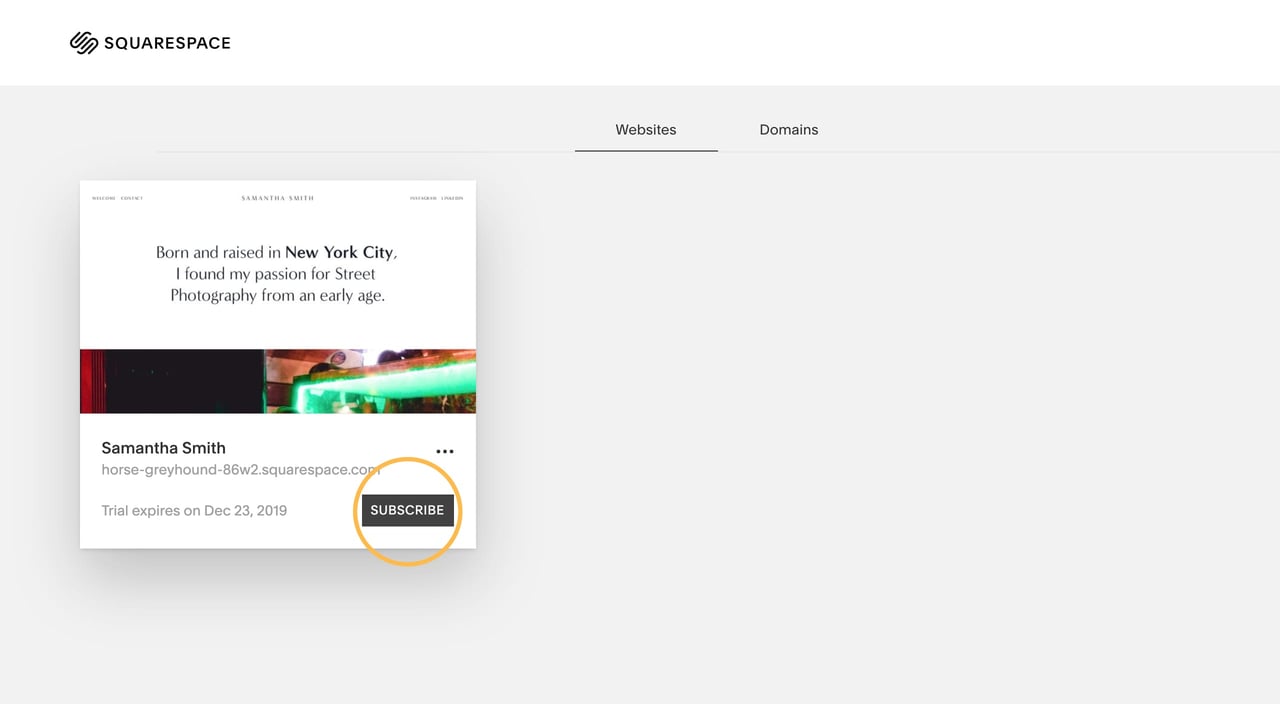
Once you are happy with your content, click the bottom-left area to visit your account dashboard:
The press the Subscribe button within your website thumbnail to kick off the payment process:
You are looking at $16/month if you pay annually (don’t forget to use the coupon OPL10 for 10% off). This gives you access to all 80 of their templates including website hosting, security and speed optimization. Enter in your Credit Card details and we are live!
Your website is now live! What to do next?
Here are a few tutorials to help optimize and promote your website:
- Connecting your custom domain to your Squarespace website
- How to improve Search Engine Optimization on your Squarespace website
- Send email campaigns using Squarespace Marketing Tools
FAQ: What are the benefits of using Squarespace?
Squarespace is a leading online website builder. What sets them apart is their superior level of design and award-winning customer support team available 24/7. Other main benefits are:
- No Website Hosting Needed - their platform is fast and secure.
- Online Content Management - all edits are done within your browser, no software needed.
- Easily Drag and Drop Images - unlimited galleries with unlimited bandwidth.
- Free Domain Name - when registering for your first website, if you pay annually (renews at standard rate).
- Beautifully Responsive - all templates work for all devices, so you only have to design your website once. Test and preview how your website will appear on a range of screen sizes.
- Blog Sections - can easily be added for content marketing and to share your journey.
- Commerce Solutions - are an upgrade away if you want to start selling products.
- Email Marketing - gather email addresses, send marketing emails and analyze the reader email activity.
- Member Areas - create private website sections only accessible to signed-up or paying members.
- Scheduling - add an online scheduler to your site to diversify your revenue with professional services or classes.
That’s a wrap! Don’t forget your 10% Off coupon*: OPL10
That’s a wrap! Don’t forget your 10% Off coupon: OPL10
I hope you enjoyed this tutorial on creating your first Squarespace site. Props to Squarespace for creating a platform where we can create beautiful personal websites, easily. If you missed it curate my 10 favorite personal Squarespace template.
* The OPL10 coupon offer only applies to first payment of subscription on Squarespace, does not apply to future recurring payments or monthly plans, and may not be combined with any other offer codes or discounts.
Much love,
Rob
Twitter: @robhope
Email: [email protected]


![How to create a free link in Bio Site in minutes [video]](https://assets.onepagelove.com/cdn-cgi/image/width=420,height=222,fit=cover,gravity=top,format=jpg,quality=85/wp-content/uploads/2022/07/sqsp-thumb.jpg)